Author: Darren Enns

  • Fishing Dock Kits, How To

    Fishing Dock Kits, How To

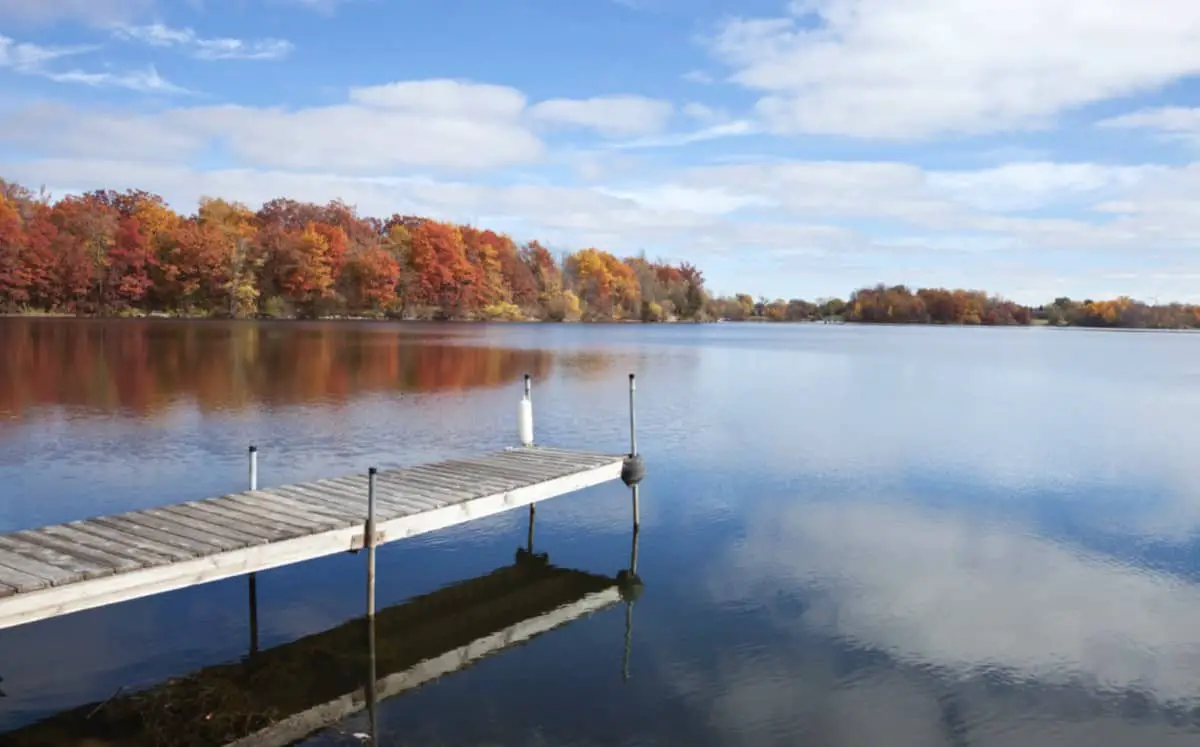
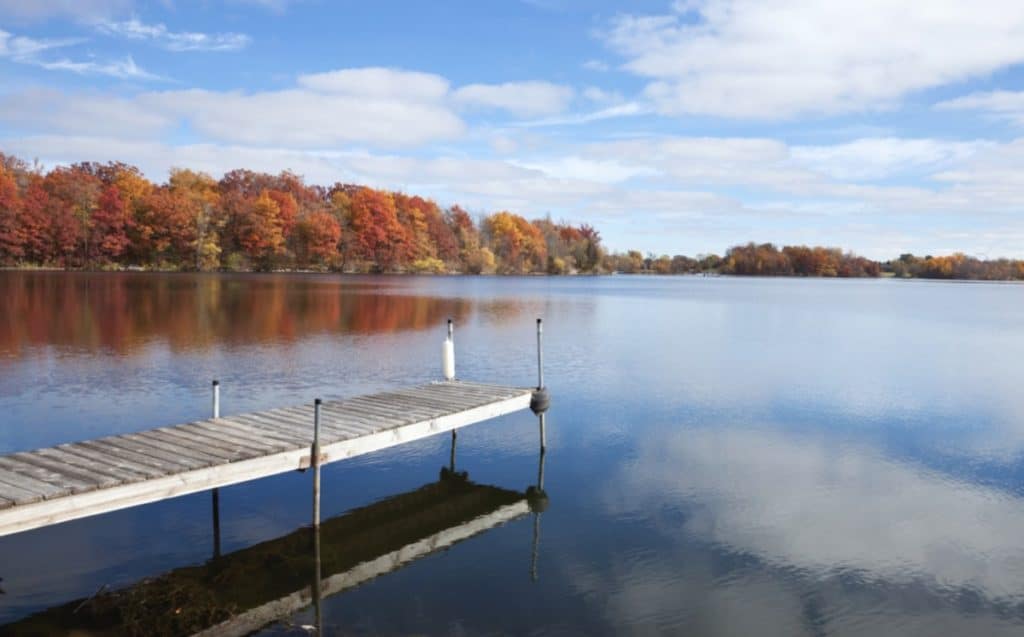
    Fishing docks are one of the most popular spots to catch numerous species of fish. Walleye, catfish, and even crappie like to take shelter or underneath docks. This keeps them out of the heat and gives them the perfect spot to pounce on their prey. If you are in the market for a dock of your own, how do you go about getting one?

    Heres a   PlayStar Aluminum Floating Dock Kit. thats simple and awesome!

    You could hire someone to come and build your dock for you, or you can purchase a fishing dock kit. Grab a couple of buddies, some refreshments, lunch and have a new dock in a matter of hours

    There are numerous companies that sell fishing dock kits, you just need to;

    1 Determine which size you are looking for and then go online and order it.

    2 Decide weather you will install yourself or hire a contractor.

    3 If you choose to hire a contractor then get 3 bids.

    We have done some research on the best fishing dock kits. You can find them all over the internet: from places like Menard, Home Depot and Walmart to Ebay and Amazon. We will provide you with some of the best fishing dock kits on the market and we will also give you an estimate of pricing on the kits. 

    Most popular Fishing Dock Kits on Amazon

    One of the top sellers on Amazon, with a consistent 5 star rating, is the PlayStar Aluminum Floating Dock Kit. It features a resin top and is 4 feet wide by 10 feet long. It is constructed of tempered alloy frame, weighs less than 200 pounds, and is durable. You could by more than 1 and configure them to create your own unique style of fishing dock. 

    The dock pipe is sold separately because the length is determined by the water depth where you are placing it. This fishing dock kit is easy to assemble, floats in just 1 ½ inches of water, self adjusts with the water level changes, and is ideal for difficult access area, mud and deeper water. This kit is going to cost you about ,456 plus you get free shipping. 

    If the previous one is out of your price range, then for a third that cost you can purchase a Tommy Dock Complete Straight Dock Package. This fishing dock kit includes:

    • 2 – PVC safety caps
    • 2 – Grey powder coated paint footpads
    • 2 – 4 foot corrosion resistant dock pipes
    • 1 – 4 foot x 8 foot cedar dock kit
    • 2 – Grey polyester powder coat paint outside corner brackets

    This particular fishing dock kit weighs in at about 260 pounds. You will have to purchase the poles separately, that secure the dock to the land. It is also not recommended for use in saltwater because it is constructed of cedar. FYI, this is a stationary dock, not a floating dock.

    Fishing Dock Kits from Home Depot

    At the Home Depot for about $750, you can purchase a Tommy Dock 16 foot Straight Cedar Dock package. This fishing dock kit is rated at 4.8 stars overall. You can expand on this dock in the future by purchasing another kit. Features corrosion resistant hardware and beautiful cedar wood. 

    The easy installation instructions make this fishing dock very easy to assemble. The quicker it goes together, the sooner you can begin fishing. All reviews state that the quality of this kit is amazing and the ease of assembly is great! There are many fishing dock kits that you can purchase at tommydocks.com
    Also from the Home Depot at approximately $600 is the Multinautic Semi-Floating Wood Dock Kit. This kit is 4 foot by 16 foot or you can purchase a 6 foot by 12 foot size. Included is foam filled commercial floats, galvanized steel hardware, and all the necessary fasteners. With this kit you would have to purchase the wood. You will receive the plans, instructions, and lumber cut size listing. 

    Included, also in this kit; 2 – 24 inch x 48 inch x 12 inch polyethylene foam filled floats with 450 pounds of buoyancy each, 2 -14 foot steel posts with PVC caps and adjustable base, and comes with a 15 year warranty on the floats. You can combine this to any floating medium or even low fee-board wood dock. 

    Other popular Fishing Dock Kits

    From Northern Tool you can purchase a Patriot Dock. This is a roll-in dock that is 16 feet long and is constructed of marine-grade aluminum. The 4 foot by 8 foot frames are easy to assemble, you just have to bolt them together. The removable deck panels fit/nest inside the dock frame. Roll this dock in and out of the water during the changing seasons or changing of the water levels. 

    Some other features of the Roll-in dock kit include;

    • Heavy 1 ½ inch I.D. schedule 40 galvanized pipe axles
    • 2 wheels, which are on the lake end of the dock (other wheels sold separately)
    • Strong and lightweight
    • The frame is versatile and customizable

    It is also weather resistant, has a lifetime warranty, and weighs approximately 330 pounds. 

    General information about Fishing Dock Kits

    listen…

    To anchor a floating dock, it is recommended to use concrete. You should also use at least a ⅜ inch galvanized chain. This will attach the dock to the anchor. You will need to have a lot of weight and mount your chains in a crisscross pattern.

    Pond King Docks are a great brand to consider.

    A floating jetty, pier, or dock is a ramp or platform (in customizable sizes) supported by pontoons. Usually anchored by cables or embedded in the seafloor, it is joined to the shore with a gangway. Referred to as pilings, the dock is held in place by vertical poles. There is a recommended size of 6 foot by 12 foot.  A high quality stationary dock can last you up to 40 years, while a floating dock will last about 10-15 years. 
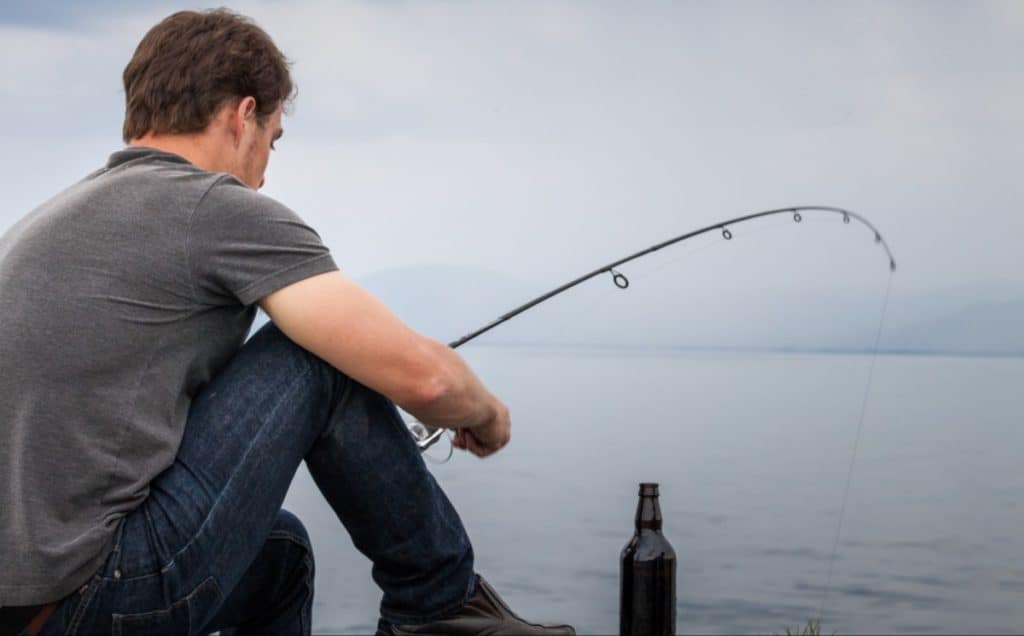
    There are 2 basic types of fishing docks that can be purchased in kit form;

    1. Floating – more cost effective and floats on the water
    2. Stationary – little more expensive – sits still on the water

    Floating docks also have no expense in driving piers into the ground. You can place your floating dock and then tow it (if you need/want to) to a new location. Your floating dock doesn’t have to be used strictly for fishing. You can use your dock for entertainment, swimming, or a quiet place to drink your coffee and watch the sunrise. Although with entertaining, it may be rough since the dock is buoyant.

    Stationary docks are held in place by pipes or wood pilings. THese types of docks are very stable and great for docking your boat. You could even install a boat lift on a stationary dock. Customizing a stationary dock with things like a hammock, an outside bar, and plant hangers. Thses docks are better suited for entertainment purposes, as they are not going to rock in the water. 

    Some people who are looking into, or who have already built a dock (with a fishing dock kit, or contractor) normally choose to go with aluminum. Aluminum will not rust or corrode like steel will, over time. They are durable, light-weight, and sturdy. They also will not warp or splinter like a wood dock is going to overtime. A downside to an aluminum or even a steel dock, is how hot it is going to be on your feet in the dead of summer time. So, the material your dock is constructed out of is going to come down to personal choice and what you prefer. 


    This May Be The Time To Start Your Writing Business. Here’s how I do it.

    There are a lot of options, numerous companies out there, and helpful information on the internet on this subject. There are fishing dock kits that you can purchase, you can design and DIY your own, or you can hire a contractor to come in and build your dock for you. In our research endeavors the prices that we came across were anywhere between approximately $400 and $1500. It just all depends on the material, the size, and whether you buy a kit or hire a contractor. 

    Congratulations on your new home or piece of land that sits close to or on a beautiful lake area. We hope that we have provided you with the necessary information for you to get started on finding a fishing dock kit to suit your needs and your budget. Once you have your kit ordered, plan a “build a dock party.” Serve ice cold drinks, appetizers or sandwiches and you will have a brand new dock in a matter of hours. 

    I wrote another post called fishing dock ideas that might help shed more light on some of the different types of docs that are available, you can find that post here.
  • Crappie Fishing Secrets 

    Crappie Fishing Secrets 

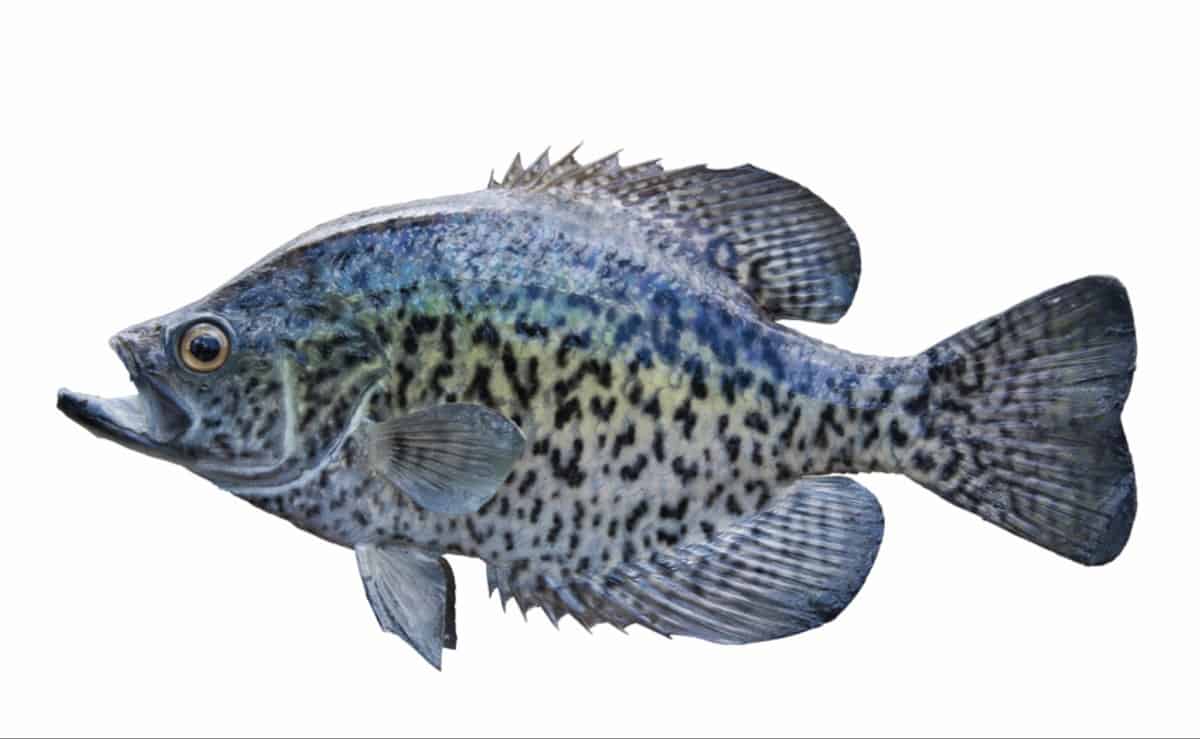
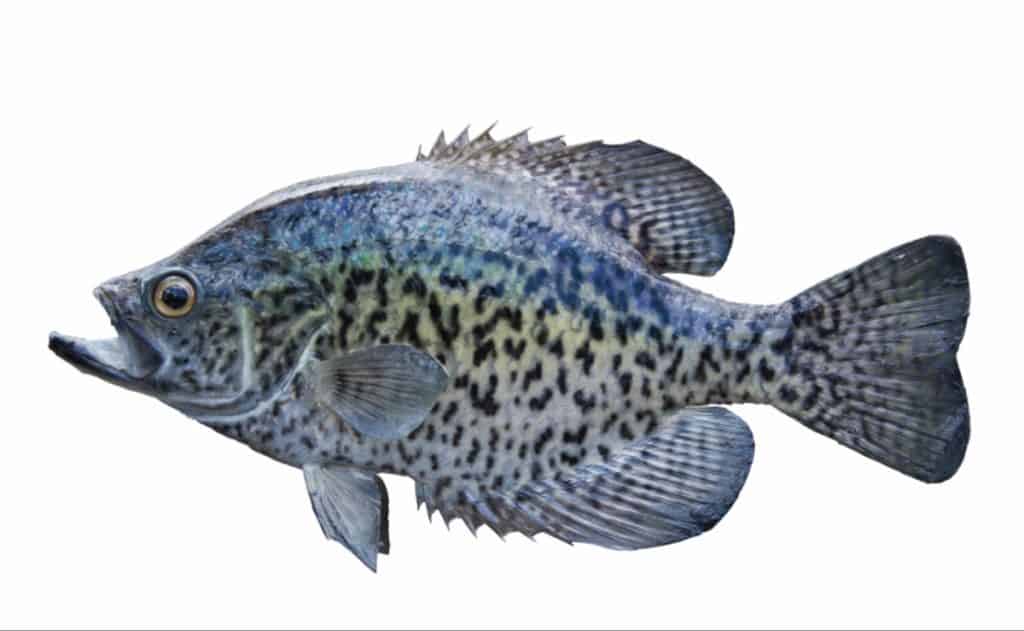
    Have you thought about going crappie fishing? Have you already been crappie fishing and didn’t have much luck? Crappie are a fun, challenging, feisty fish to catch. But there are several things that will help you catch the invasive species. You do not need to go broke buying fancy lures, rods, or state of the art depth finders. 

    When crappie develop lock-jaw, you need to use 2 fishing rods. One with a minnow and bobber and the one rigged with a large crankbait or spinner. You can throw some extra minnows in a jar and toss it 1-3 feet deep and watch the crappie swarm, believing it is a school of minnows. When doing this, make sure you poke holes in the lid and then lower your lure/bait right next to the jar to ensure bites (and catches) because the crappie can not get to the minnows in the jar. 

    If The Bite Becomes Slow, Try This Crappie Fishing Secret

    Do you like to write? Would you be interested in writing about fishing or the outdoors? There is money to be made by doing so, check out this link to see how I do it.

    Now lets give you some secrets, tips, trips, and techniques that are used in catching crappie. These are suggested by anglers, professional and not so professional. It is what they have found works the best for them, and they are willing to share. We also have lists of the top 5 items that will help you in your hunt for the crappie. Reels, rods, lures, baits, and many other items. 

    Here is a Crappie Fishing Resources Checklist

    4 major secrets to crappie fishing

    These are 4 things that top fishermen suggest some of you may not know.

    • They do not feed on the bottom 
    • Their favorite color is pink – chartreuse lures are always recommended   
    • Wood, they LOVE wood – they will hide under/among wood to watch for their prey
    • They do NOT vanish in the summer

    Here are just a few more secrets to catching the feisty crappie

    • Keep crappie nibbles on hand – it is one of the top most used lures
    • Read a good crappie handbook – this will give you all the information you need
    • Use a fish attractant to lure crappie – there are many scents that will attract them 
    • They love the higher quality lures (because they mimic live bait) – the more realistic, the better

    Last, but not least, 4 additional secrets to catching crappie

    • Crappie dislike the current
    • Fish in 10 feet deep water, or less
    • ⅛ oz jig is preferred – the perfect size for the crappie mouth
    • Use knitting thread, not fishing line – will cost a lot less, for all the snags, and works just as well

    Now, we are going to get into the top 5 fishing techniques (in general, for fall and for summer). We will also give you a run down of the top lures, baits, fishing line to use, and much more information that will help you on your next fishing trip. 

    Top 5 crappie fishing techniques (general)

    These are the most recommended and suggested techniques by many fishermen, whether professional, guides, or intermediate.

    • Spider Rigging
    • Swim a Jig
    • Drift away
    • Weed-Bed slabs
    • Tandem-Rigged jigs

    Top 5 crappie fishing techniques/suggestions (fall)

    The techniques for fall and for summer are similar and can intermingle. But the more you know about the crappie and their habitat for each season, the better off you will be. 

    • Know their movements
    • Spot on presentation
    • Remember temperature matters
    • Keep moving (don’t stay in one spot if you are not catching)
    • Find crappie “highway”

    Top 5 crappie techniques/suggestions (spring/summer)

    They say some of the best crappie fishing is in the spring/summer due to spawning season. Some fishermen agree and some may disagree 

    • Troll crankbaits in June
    • Probe channel cover in July
    • Drag offshore humps in August
    • Windy weather is good
    • Use tube baits if muggy

    Top 5 crappie fishing lures

    These lures are some of the most used by fishermen of all experiences. There are of course many others that will work just as well, but these are the most used and most recommended. 

    • Berkley Crappie Nibbles
    • Johnson Beetle Mini Spinnerbait
    • Scented Minnows Crappie Jigs
    • PowerBait Power Minnows
    • Bobble Garland Baby Shad

    Top 5 crappie live bait choices

    Live bait is always better, but if you have to choose lures/bait then make sure it is as close to the real thing as possible as far and look and the technique used to make it swim. 

    • Minnows
    • Worms
    • Shad
    • Insects
    • Crickets

    We have covered the top techniques for catching the crappie during the fall and summer/spring seasons. The top lures and live bait to get you started have also been listed above. Some of the top 5’s in all categories are going to depend on where you are fishing, the weather, and the water conditions. Fishing is a lot of fun, and also a lot of trial and error when it comes to catching the fish, whether it be crappies, striped bass, catfish, or any other species. We are going to give you some of the top fishing poles, best states, and best lakes to find the invasive crappie. So please, read on and enjoy. 

    Top Rods/Reels for catching a crappie

    You do not have to break the bank to catch a crappie. Here are a few recommendations on what some of the professionals and fishing guides use and recommend. If you already have a rod and reel, please do not go out and purchase anything new. What you have will work just fine, with the proper bait/lure.

    • Ugly Stik Crappie Spinning Combo
    • Cadence CC5 Spinning Combo Graphite Rod
    • Zebco Crappie Fighter 502Ul Ts Combo
    • Pflueger PRESSP President Spinning Combo
    • KastKing Centron Spinning Reel Combo

    Again, if you do not have what is suggested, please do not feel like you have no choice but to purchase one of the above. What you have will work great!

    Top States for catching crappie

    These are the top states that are pronounced to have the best crappie fishing. In the next section we will provide you with some of the top lakes that have the highest crappie population

    • Florida
    • Illinois
    • Louisiana
    • Mississippi
    • Missouri
    • Oklahoma
    • South Carolina
    • Tennessee

    Top lakes to catch crappie

    In conjunction with the above, here are the top lakes that report having the biggest crappie population in the United States. Pick an area, do your research and then book your vacation.

    • Grenada Lake, Mississippi
    • Lake Washington, Mississippi
    • Arkabutla, Sardis and Enid Lakes, Mississippi
    • Alabama River, Alabama
    • Lake Fork, Texas
    • Santee Cooper, South Carolina
    • Kentucky Lake, Kentucky/Tennessee

    Make sure to check all rules and regulations for fishing licenses and number of crappie you can catch in one day. Happy fishing!

    With deeper research we have uncovered a few more ‘secrets/techniques.’ So many anglers follow the new way of doing things. The latest rods, reels, fish finders and more. There are other anglers that swear by the “old school” way of catching crappie (and other species of fish). 

    Goldfish

    When we think of goldfish, we think of the cute orange fish that we purchase for our children as their ‘first pet.’ We teach them how to feed them and how to change their water. We watch them swim around and our kids are heartbroken when they pass. But, some anglers believe that using goldfish to catch slabs is better than using minnows. Because of their bright colors, crappie do bite them more readily and goldfish are said to live longer than minnows. 

    Chumming

    This technique is normally associated with saltwater fishing. The idea is to sprinkle cornmeal around the boat in a good likely-looking spot, every few minutes. This will attract minnows and of course the minnows will attract the crappie. It is recommended you do this a day or two before you plan on fishing. The crappie will be eagerly awaiting your return, and ready to chomp at your bait/lure. 

    Egging

    This is very simple and straightforward. Maybe one of the easiest ways to potentially catch crappie. Take your crushed egg shells, after you make breakfast, and put them in a plastic airtight bag. The next time you go out fishing take them with you and sprinkle them all around the boat. No one knows exactly why but some speculate that the crappie like the floating motion of the shells. Others say that the crappie think they are recently eaten scales from a bait fish. Either way, it works. 

    Jugging

    Just like jugging for catfish, you can jug for crappie. Fishermen use old bleach bottles and monofilament fishing line. What you want to do is tie the fishing line around the neck of the bottle and suspend your minnows (or goldfish) on hooks or 1/24 – 1/32 ounce crappie jigs, placed on the line. Toss the jugs in the water so that they float across river ledges, shallow-water coves, or the mouths of creeks. 

    **Make sure you check the regulations where you plan on fishing to make sure that jugging is acceptable, as some places do not allow it.**

    After all the thorough research, I believe we have given you the best information and secrets to go out and catch enough crappie to feed your family for a couple of great hearty meals. Everyone has their techniques, tips, tricks, secrets, and own special way of catching crappie. No two people are going to have the same idea, lures, baits, rods, or reels. Fishing for crappie is a trial and error type of sport. You will do best if you know the ins and out of crappie habitat in the particular location that you like to fish. It is fairly similar across the board, but there are a few differences between lakes. One thing that remains constant is that they are best caught during spawning season or at dusk and dawn when they come to the surface to feed. 


    This May Be The Time To Start Your Writing Business. Here’s how I do it.

  • What Eats Striped Bass?

    What Eats Striped Bass?

    The striped bass, also called striper, rockfish, linesider, or rock, are found along the Atlantic Coast of North America as well as many other places. They are the top recreational sportfish in many areas. Striped bass feed on zooplankton, insects, worms, herring, shad, and white perch just to name a few. But, what eats striped bass?

    Striper
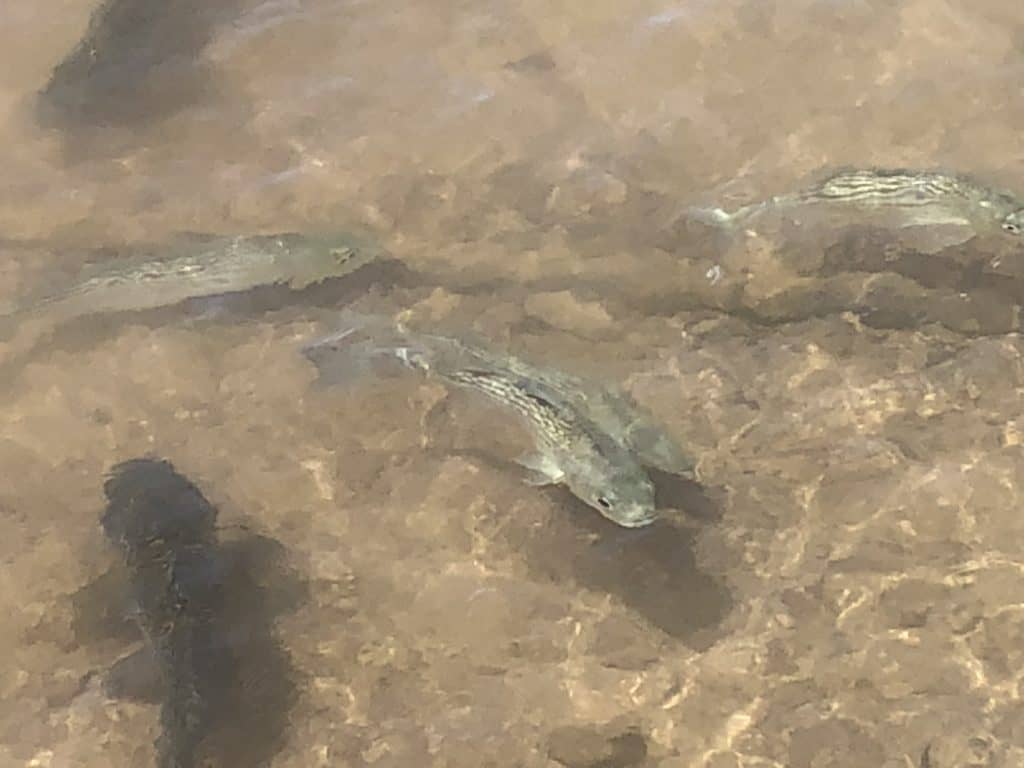
    These are stripers at Lake Mead in Nevada

    Young and small striped bass are eaten by bluefish, adult striped bass, and other larger fish. The adult striped bass however are consumed by sharks, mammals, large fish, seals, and numerous aquatic birds. There are also Atlantic cod and Atlanic tomcod that will occasionally munch on a striped bass. Don’t forget about us humans! Many Americans love their fried, roasted, and baked striped bass.

    Predators of young stripers

    Silver hake, Cod, Weakfish, Bluefish,

    Freshwater preditors of juvinile Striped Bass

    Largemouth Bass, Catfish, Smallmouth Bass

    Darren Enns Author is a father of four boys that LOVE fishing.

    What do striped bass eat?

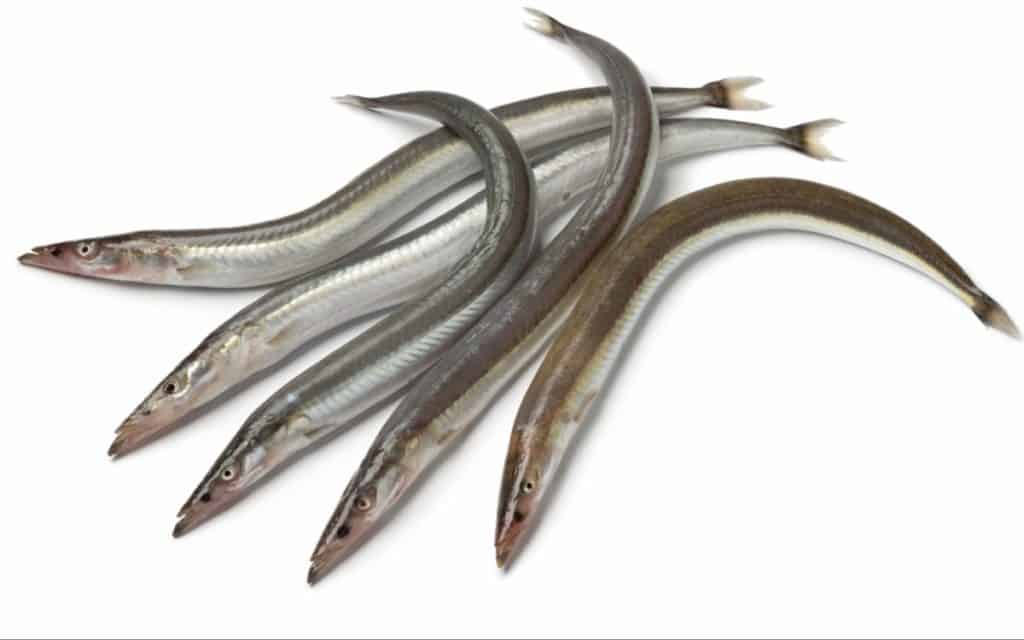
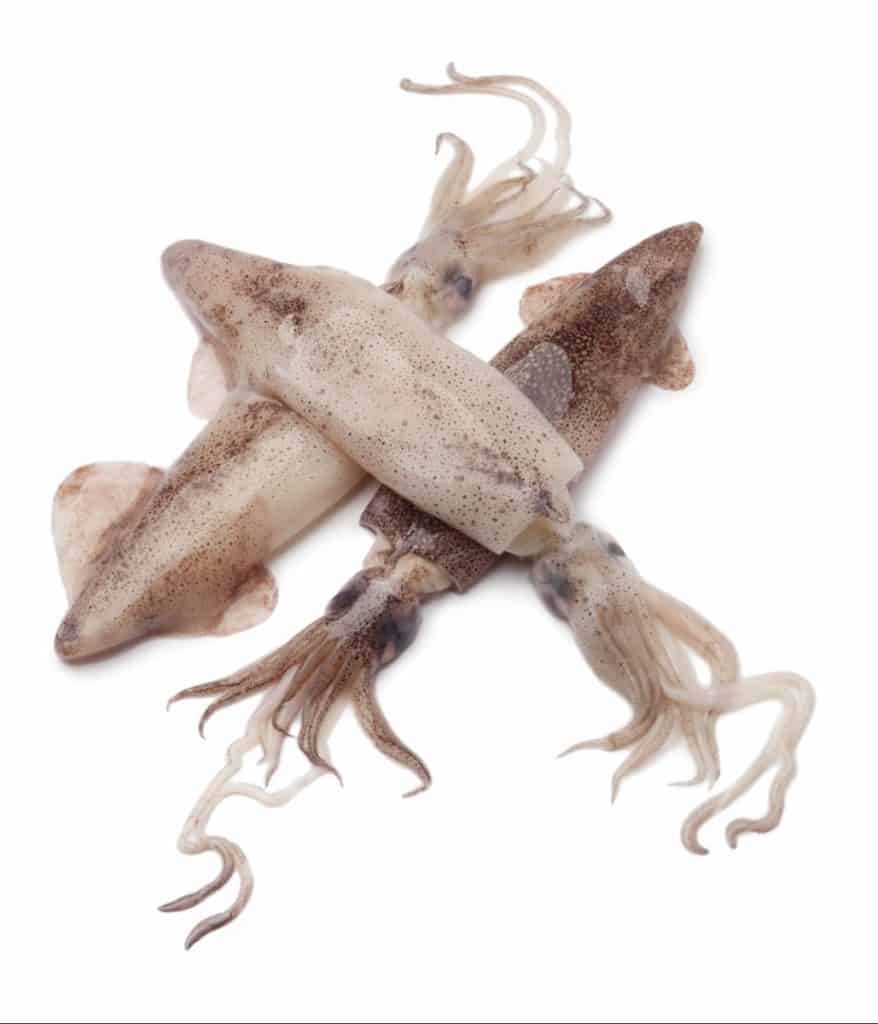
    Squid, eels, flounder, sea worms, and sea herring are on the menu of the striped bass. They are definitely not picky eaters. Whatever they can get their mouth on they will eat. They primarily feed at dusk and dawn, but they may nibble a little bit during the day, depending on temperature. In the morning, for their very first feeding of the day is prime, but night time is great too!

    What Eats Striped Bass?
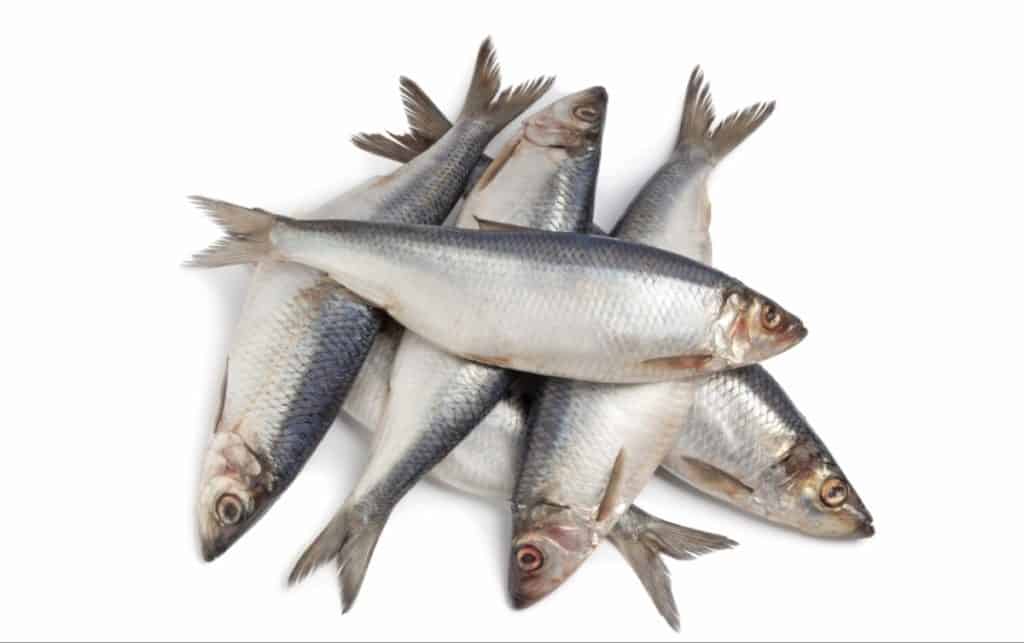
    Striped Bass Love Herring

    How many ways can you catch striper

    There are many ways to catch the striped bass; such as trolling, shore fishing, night fishing, and fly fishing. We are going to wade into the 4 top ways, that one angler suggests as being the best ways to catch striped bass.

    If you think you have what it takes to write about the outdoors and you would like to make some income, check out this link that explains how I do it.

    1. Planer boards- a planer board allows you to get bait out of the boat in a very controlled and even manner. You can use up to 10 planer boards to trail behind your boat. This will cover an area of over 100 feet. The planer board allows you to troll very slowly, which is a huge benefit if you are using live bait.
    2. Shallow trolling- big stripers are huge fans of cold, according to 1 fishing guide, and they frequently get right on the bank in just a few feet of water. Usually you want your boat in about 8-10 feet of water, then you can flatline baitfish and maneuver your boat along the banks. This way the bait will travel in the shallows. 
    3. Deep trolling- there are two methods that will get your bait down deep. You can use a lead-core line or downriggers. THe lead-core line is simpler and will require less equipment. It is color coded line that changes color every 30 feet, allowing you to know how much line you have in the water. 
    4. Casting- some anglers prefer the good old fashioned way of standing on the shore, the dock, or a bridge and casting to catch the striped bass. You want to look for shallow areas that drop quickly into deep water. A striped bass will push their prey up towards the shallow water, trap them, and feed on them. Always watch for birds diving and/or surface activity. The bigger stripers will run with maybe 1 or 2 other fish, so if you catch one, make sure to re-cast in the same general area. 
    On the east coast Stripers love eel

    Interesting facts about striper

    We have another post that gives you some interesting facts about the striped bass, but in our deeper research we found a few we might have missed or believe that we can include now. 

    • Stripers mainly stay in the vicinity of the coastline
    • Striped bass do not have eyelids. When the sun comes up, they retreat deeper into the water to keep the sun out of their eyes.
    • Stripers have large tails that help them maneuver very well, helping them with their control in turbulent water.

    Facts about any fish, is always interesting and that is why I decided to throw a few more here. Yes, we are talking about what eats striped bass, but why not throw something unexpected into the mix? 
    Squid are often on the menu for striper

    What are the effects on striped bass when seals are present

    One of the main predators of the striped bass is the seal. Which means, if you are taking a trip to Cape Cod to do some fishing, beware.

    If fishing on the beach at Cape Cod sounds appealing, it is. But, you are going to see some seals. It is said that seals will come up and attempt to take fish right off of your hook. It is even believed by some anglers, that if a seal sees you with a rod and tackle box, they will follow you. So, I imagine that at dawn and dusk, especially, striped bass would be nervous when they come up to feed.

    I recommend joining Income School. I’ve been an Income School member for a little over a year and joining was the best decision I’ve made in working toward my business goal of making money online.


    Are sharks in freshwater or in saltwater

    There are a handful of sharks that are found in freshwater, but we tend to believe that sharks live in the ocean. But, there is one shark that can live in both fresh and saltwater, kind of like the striped bass can survive in both. This enfamous shark is called the bull shark. 

    The bull shark (and other sharks) in freshwater east mainly fish as their primary diet, including the striped bass. It is also said that anglers fishing for striped bass at night may have to deal with sand sharks. They are a nuisance to anglers, but nothing more. 

    There is nothing to worry about it you are going striped bass fishing. We are not writing this to freak anyone out or discourage you from going striped bass fishing, especially in Cape Cod. You are very rarely going to see a shark (or a seal) actually catch and eat a striped bass, so there is no harm to you at all, while you are enjoying a day on the lake with your family or your friends. 

    Striped bass fishing, fun for the whole family

    Depending where you are going fishing, and what time you are going fishing, you are the biggest predator of a striped bass. Since they are fish that will eat just about anything, it isn’t too hard to figure out what lure, bait or live bait to use. As long as they can see it and it is appealing, you will get a bite. 

    If they are not biting on what you are using, then all you simply need to do is change the lure. They will eat anything, but most anglers say that the lure/bait needs to mimic what they are craving at that particular time, or it may be a little more challenging to catch them. So, take your time and find the correct lure and the perfect spot and you will have a super successful day fishing for striped bass. You will catch and take home enough for a couple of meals. So do not worry about sharks, seals, or any other predators of the striped bass. 

    For more info on catching Striped Bass, take a peek at this post HERE

    Hey FISHMONGER – make sure to check out my FISHING RESOURCES page.

    If you have social media or a blog or even a business in fishing like a fishing guide, you can make money by giving away $10 store credit to your friends and followers. Click Here to find out how


  • What Do Fishing Worms Eat?

    What Do Fishing Worms Eat?

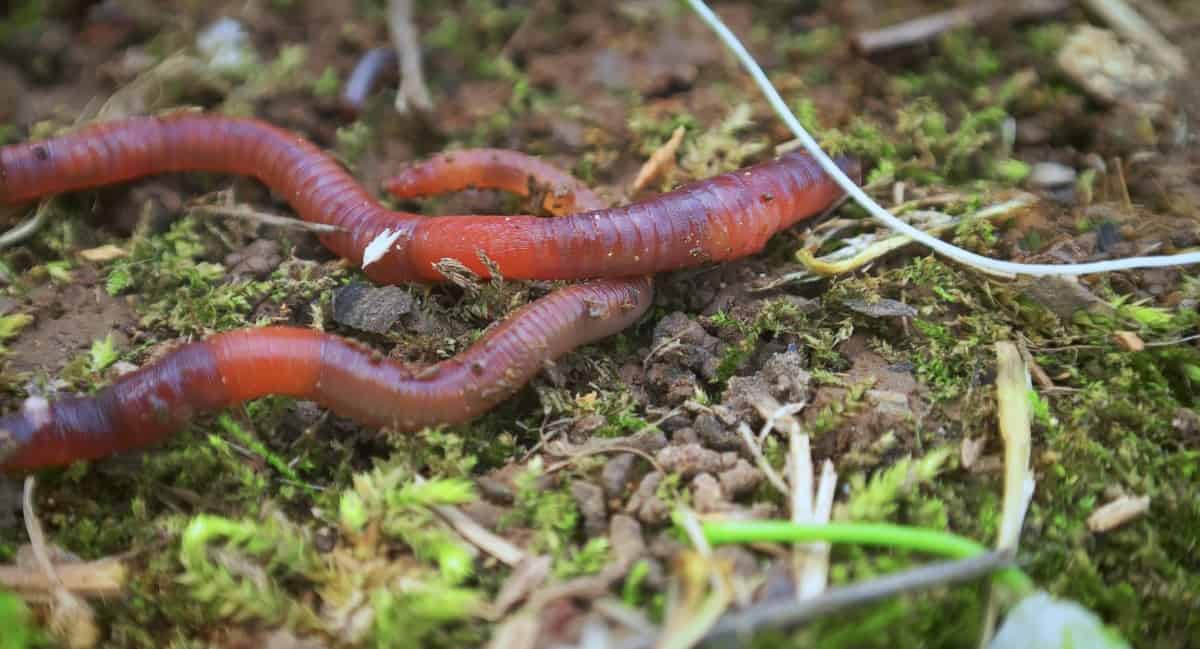
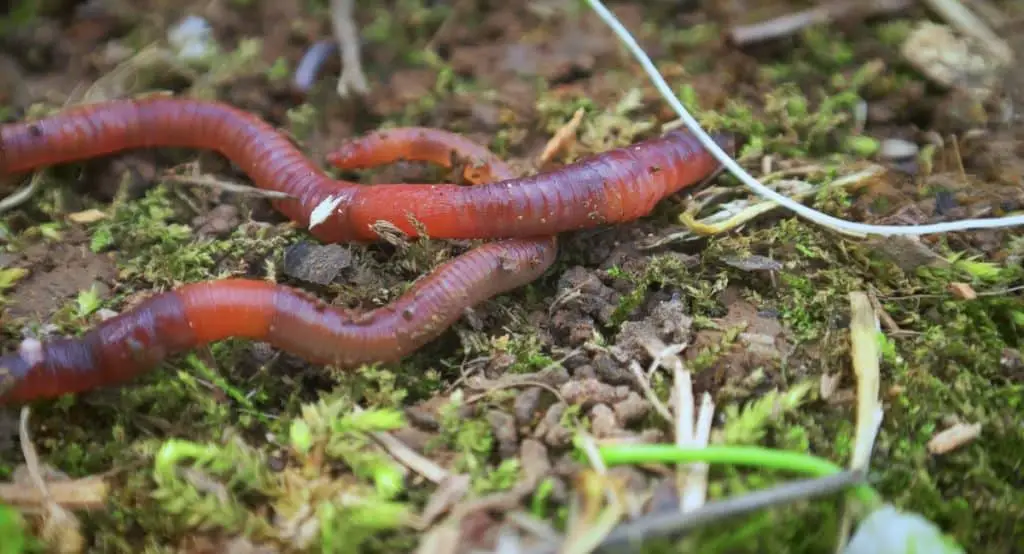
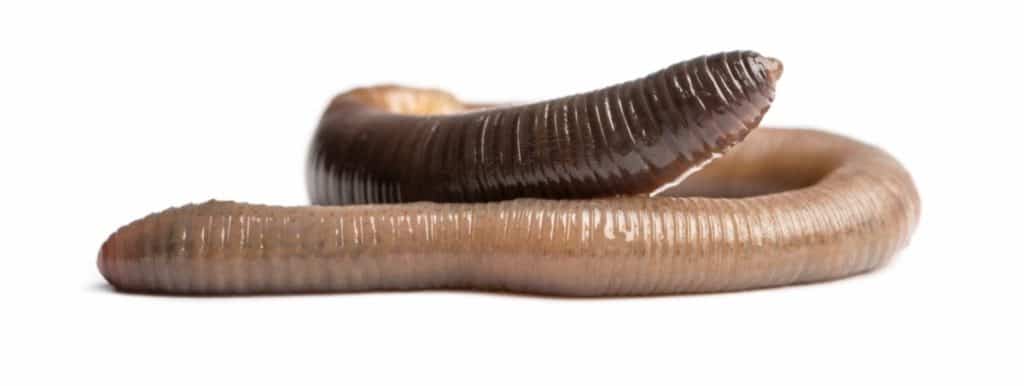
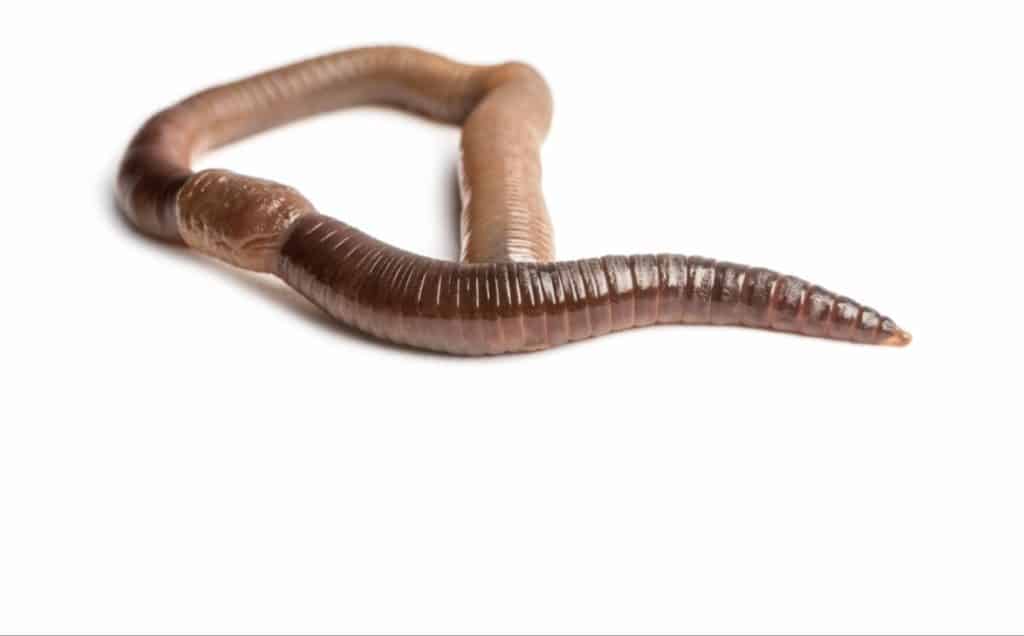
    Who in the world would have pet worms? Someone who keeps their worms after a fishing trip! There is no reason to dispose of the worms that you do not use. They are simple to care for and the next time you go fishing you will have a lot more worms than what you came home with. This is because worms left to their own devices multiply quickly. If you only have a half a dozen left then store them in the refrigerator. If you want to save money, then store them in a worm box outside and watch them populate. I’ve done it and so can you. I’ll explain how. 

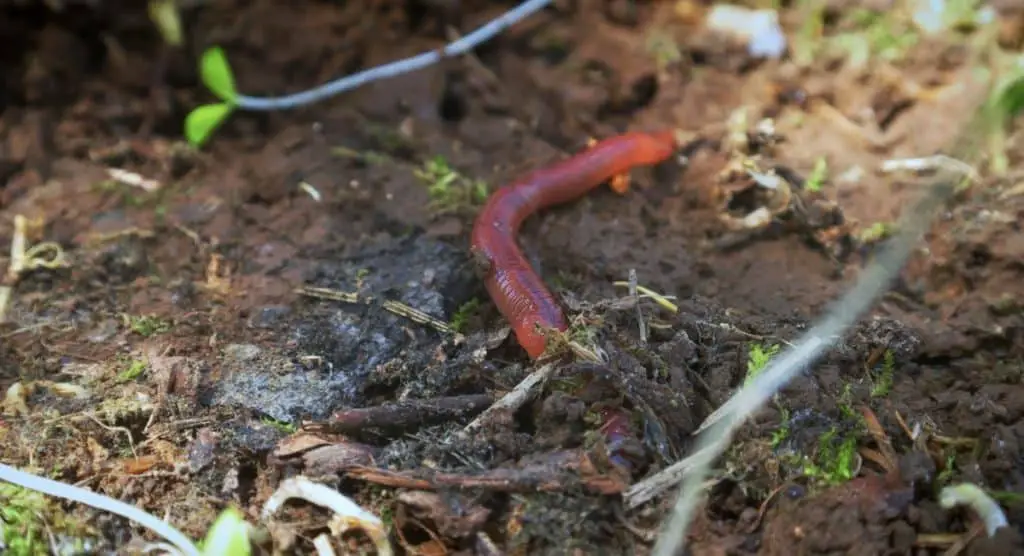
    So what do you feed your fishing worms? There are a few options to choose from; powdered worm food, damp coffee grounds or fruit and veggie scraps. Use your blender on the fruits and veggies to break them up into smaller pieces and then sprinkle the scraps on the top of the worm box. Avoid citrus, meat, onions and dairy. The worms will avoid them and they will eventually rot in the bin. One of their favorite treats, just lay a soft piece of bread on top of the moist soil. The next time you lift up a corner of the bread they will be piled up underneath it.

    How to make a worm bed for fishing bait

    Is writing about the outdoors or fishing something that you think you would like to do? It’s possible to make income by doing so. If you are interested check out this link to see how I do it.

    I will cover more in depth the who, what, when, where, and why’s of what to feed your fishing worms. We will cover how to make your own worm bin, how often to feed your worms and many other interesting facts about taking care of fishing worms.  

    Fishing Worm

    How to Take Care of my Fishing Worms

    Here are the top three ways to keep your fishing worms alive and what food to feed them. 

    1. Keep worms in the refrigerator. This works best if you have less than a dozen worms left. But they will have to be used within a month’s time. 
    2. Place worms in a styrofoam container. If your worms came in a decent container then you will not need to transfer them. If you do transfer them make sure to move all the soil and any shredded paper that came in the original container. 
    3. Feed your worms once a week (this varies, depending on who you talk to). You can sprinkle 2 to 3 tablespoons of used coffee grounds into the container, but make sure they are damp. You can also sprinkle a couple of teaspoons of powdered worm food over the top of the worms. This can be found in most bait and tackle shops or on Amazon.

    How to Make a Worm Bed

    Worm beds are larger versions of a worm bin. You can find worm bins at most gardening centers but they will be pretty small. A worm bed is actually something you construct in your yard. This will give you large earthworms and excellent compost. 

    There are tons of creative worm bed ideas all over the internet. You can use large plastic bins, styrofoam coolers, or even a large fish aquarium. But the ultimate way to make a worm bed is to dig it right in the ground. You can make it as large as you like, just start digging. You can make it square or rectangle shaped. Once you have the pit done, line it with cardboard and use wooden boards up the sides. You then need to shred and moisten any old newspapers you have lying around. Make a large, fluffy layer in the bottom of the pit. This makes the bedding for the worms. Next you add the worm, soil, and food scraps. Now, just sit back and allow the worms to turn it into rich soil and compost, as well as multiply like crazy. Throw a soaked piece of cardboard in there as you layer the paper and dirt. The worms love the corrugations in the cardboard and will use the tiny holes to lay eggs. One egg could hatch 9 baby worms in a few weeks and you’ll have worms in perpetuity.

    **Tip: keep the worm bed moist or your worms will dry out and die**

    Feeding Instructions

    A full functioning worm bin will have about 6.5 pounds of compost worms. Uneaten food should not be more than 5cm deep. They prefer to eat their food before decomposition sets in. If not eaten before then, it will affect the life cycle of the worms and operation of the worm bin. 

    Start by feeding the worms a small amount of food each day. Worms can normally eat their own body weight in food. Slowly increase the amount you feed the worms as the population begins to grow. Building up a decent population can take approximately 3 months to accomplish. To take care of rotting scraps, you may need to gently mix a small amount of fibrous material into the top food layer.

    How do Worms Reproduce

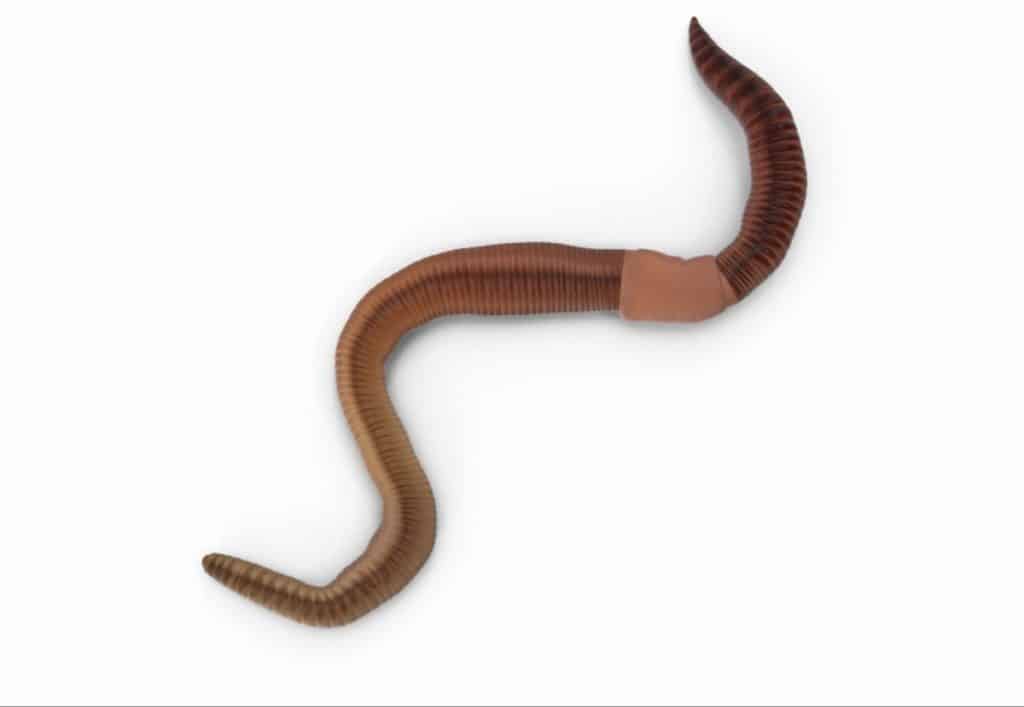
    Worms will join together with their heads in opposite directions. Sperm is then passed from one worm to the other and is stored in sacs. A cocoon then forms on each of them, on the clitellum. Worms can and will double in population every 60 days and the breeding cycle takes 27 days from mating to the laying of the eggs. That is a lot of worms every other month!

    What do Worms Need to Survive

    This is an expansion of the beginning of the article. Major research uncovers hidden gems. Worms will eat dead plants, live plants, animal poop, and other microscopic animals. They also do not mind eggshells if you use your blender and grind them into powder to sprinkle atop the soil. Food, moisture, and oxygen are all that worms require to survive. Check the soil everyday to make sure it stays moist, but try not to get it too wet. 

    Moist soil ensures that the worms can breath. Oxygen from the water in the ground actually passes through a worms skin, keeping it alive. So worms do not actually drink anything, but will eat a wide variety of items. 

    Make your Own Worm Food (worm food recipe, so to speak)

    Fruits, vegetables, grains, and cereals are just a few of the many options you have. They also need organic items, like tea bags and cardboard. If you choose to, you can mix everything in the blender. Otherwise just cut it into small pieces, and as it breaks down in the soil the worms will eat Newspaper or some kind of bedding will keep the bin dark, so the worms do not get confused and it also keeps the fruit flies at bay. Not only do the worms eat the organic materials they also use it to live in/under. Worms do not have a particular feeding schedule. You can feed them once a week, every 2-3 days, or once a day and they will thrive and multiply.

    Worms do not have teeth and because of this, they need a little grit in their diet. You can use crushed oyster shells or rock dust as their source of grit. Or, you can simply use egg shells, which everyone usually has. 

    Do not feed your fishing worms meat, poultry, fish, dairy. Proteins attract different rodents. Junk food, such as chips, candy, or oils will attract ants. Oranges, lemons, and limes are toxic to worms because of the citric acid. Definitely never ever put any biodegradable material in the worm bin. 

    If you do not have enough scraps for the worm bin, because some of it goes to other animals, cornmeal is the perfect solution. Sprinkle 2-4 tablespoons onto the soil and it will satisfy the fishing worms just fine. 

    How to Grow Fishing Worms as Bait

    If you fish very consistently with worms, then growing your own will be very beneficial to you. You don’t have to spend money on bait anymore and you get amazing compost for your plants and/or garden.

    There are actually 3 types of fishing worms

    • Mealworms
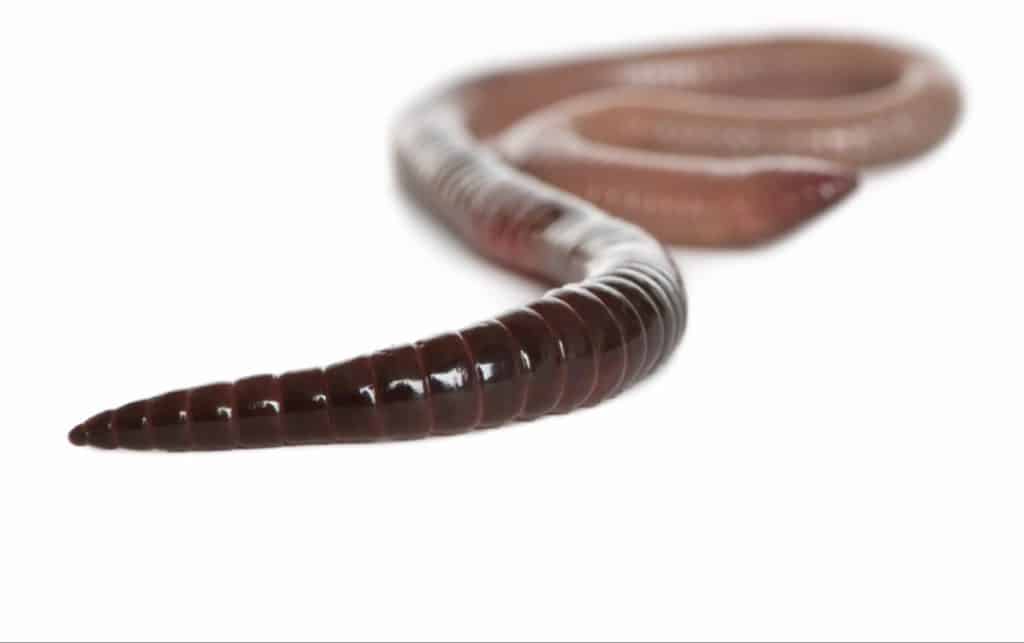
    • Red worms (red wigglers)
    • European Night Crawlers (super reds)

    You decide which type of worm best suites your fishing style and needs. Most anglers prefer the mealworms for panfishing, the red worms for other edible fish, and the Europeans for the bigger fish (such as catfish, walleye, and largemouth bass).

    Mealworms

    Live mealworms can last up to nine months and can be used in various ways; in pastes and mixes, as live loose bait, or hair rigged just to name a few examples. There are different opinions on whether they are dead or alive. It is kind of a balancing act to keep them alive but NOT maturing. If they mature they will turn into Darkling Beetles. 

    European Night Crawlers

    This type of worm is fat and juicy, making it hard for most fish to resist. They are easy to cultivate, very active, and can grow to be four to five inches long.

    Here is a brief checklist on composting/growing the European Night Crawler

    1. The location can not be too warm nor too cold.
    2. Build or buy a bin, making sure it has air and drainage holes and a lid
    3. Order super reds online
    4. Set up the bedding. If you DIY the bin, pure peat moss makes extraordinary bedding
    5. Put the worms on the bed and allow them to dig in
    6. Feed them 2-4 times a week.

    Every 3-6 months you will want to harvest material from the bin for your plants or garden. 

    Red Worms

    These are smaller than the European night crawlers, but they still make exceptional bait. For these red worms you will basically be following the same process as above for setting up the bin, but it is suggested that you purchase tray-based worm bins. These make it easier to harvest the humus (worm poop). Everything else about harvesting is exactly the same has it is for the European Night Crawlers 

    There you have it folks, the ins and outs and dos and don’ts of feeding your fishing worms, making your fishing bin, and what not to feed your fishing worms. It will save you money, because you won’t have to purchase worms when you want to head out and go fishing. Heck, you could even package and sell the soil and sell the worms and make a little bit of money. Who doesn’t like money!?

    Whatever you choose to do, there is an abundance of information and already packaged worm food and worms to get you started and to keep you going. Worms could possibly be one of the easiest ‘pets’ to take care of, and as a bonus you get awesome plants/garden fruits and vegetables from the compost that the worms help produce. 

  • Crappie Jig Fishing with a Bobber

    Crappie Jig Fishing with a Bobber

    Crappie fishing is fun and exciting. They can be elusive and feisty which adds to the challenge and excitement of catching them. You have many types of baits, lures and worms to catch your crappie. You have probably even fished for crappie with a jig, on more than one occasion, as it is one of the best methods. But what about a jig and bobber combo? 

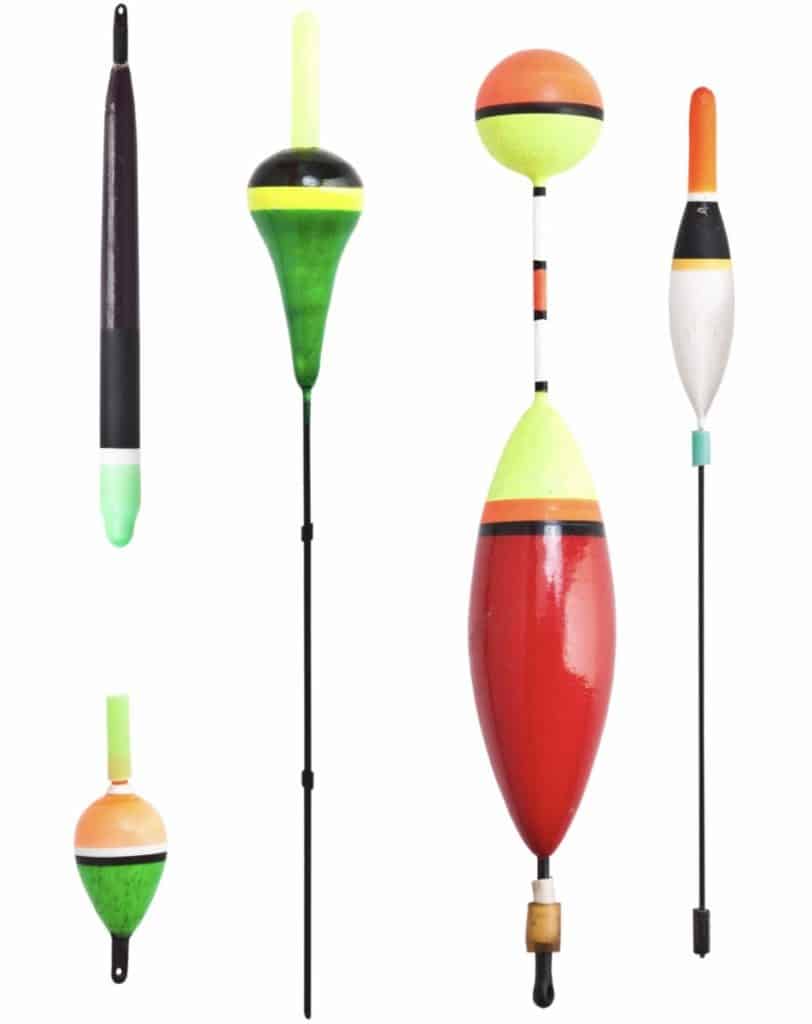
    You want to tie the jig 1 to 4 feet below the bobber. The depth you fish is going to be determined by how deep the crappie usually are. You want to cast towards the shoreline and slowly reel in your jig and bobber, pausing every couple of seconds. If the water is muddy then you should use a dark colored bobber. If the water is clear, it is recommended that you use a chartreuse with either green, red, or white. 

    Crappie Fishing With A Jig and Bobber
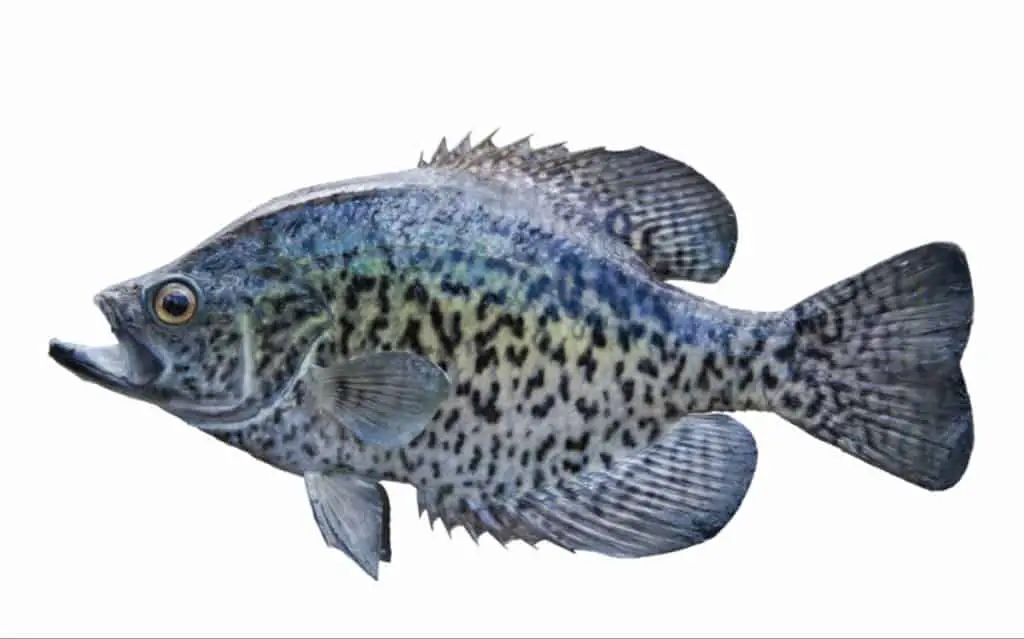
    Black Crappie

    Let’s take a closer look at jig and bobber combinations that give you the best presentation. What size and type of bobber, prime fishing time and season are just a few things that we will cover for you today. 

    Now according to Richard Gene the fishing machine, he likes to use a small float made by betts. And a piece of advice that he gives is to put the plug in the bottom of the float as opposed to the top of the float.

    He says the reason why he does this is because it helps keep the float from spinning when he casts his jig. He says that often if he has the plug in the top the barber will spin when he throws a cast. That’s a pretty good piece of advice to help keep your line from tangling and give you a better chance of catching Crappie instead of un-tying knots.

    In one of Richard Gene’s videos he uses a hand tied jig and Berkeley sent squeezed on it and he claims it gives him a few more fish per day by doing this. I can tell you that in my experience, I have had days where I know I would not have caught fish without using the scent. For one it covers up the human scent on the hand tied Jig and it also leaves a trail as you reel and that attracts those crappy to come in and grab that Jig.

    Richard Gene also advises to use light line because that gives you more finesse as you are teasing those crappie. if you want to learn how to catch crappie you should check out Richard Gene’s videos. I sure enjoy watching them when I’m not catching fish myself.

    Handmade Bobbers

    Bobber Jigging for Crappie

    Springtime has arrived! Time to dig out the fishing rods and tackle boxes. At this time of the year the crappie are normally hanging out around the banks. Many fishermen will use the reliable minnow and bobber combination. Then you will have a handful who will choose the more challenging route and use a jig and bobber.

    You have to remember that crappie love the thick brush. So using a jig is going to be tricky because you will get hung up easily. There are quite a few anglers who will not take the risk, even though the brush is a gold mine for catching crappie. It is suggested that you use the float and fly technique.  Crappie can normally be found in one or two feet deep water in the springtime. If a late cold front moves in then you will have to go out into a little bit deeper water.

    Fishing Between The Brush

    Find the hole in the brush and place your jig there, letting it sit in the hole for a few seconds. If you choose the right color of jig, then you should get bites as this is the prime way. After 5-15 seconds gently twitch the bobber, most of the time this will get the crappie to strike. If you pull the jig steadily it will allow you to place it directly into another hole. You can then start the twitch pause sequence again. Fishing Lake Morena For Crappie? Discover what bait to use.

    Doing this will help you catch tons of crappie in the spring. It allows you to catch the crappie that the other anglers are missing, because they are refusing to fish in the thick brush. It is going to take some time to master pulling your jig from hole to hole. But once you have it mastered, it could become your ‘ace in the hole’ when you go crappie fishing. 

    Cork and Plug

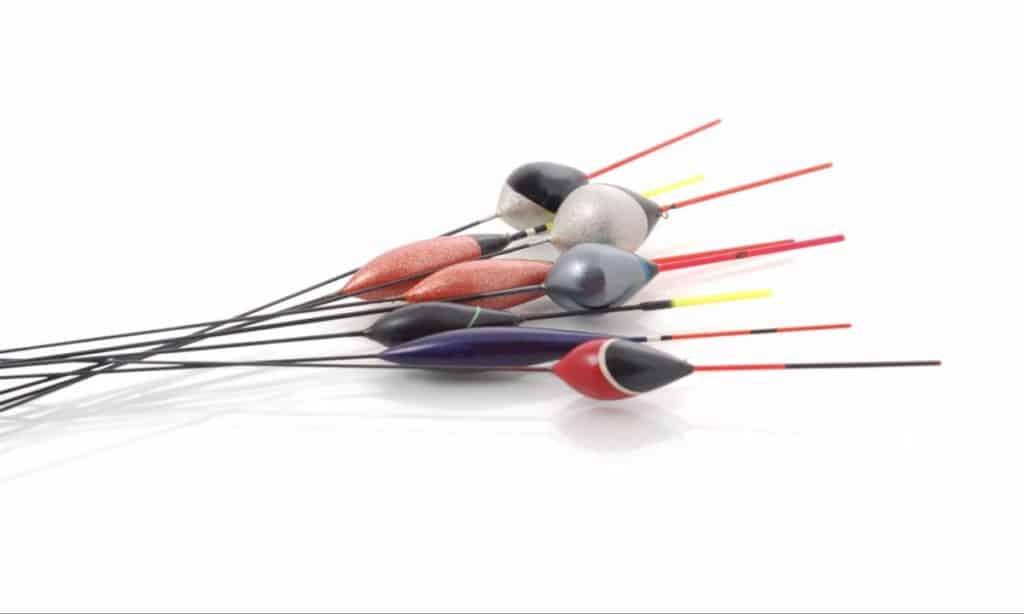
    Top 5 Crappie Bobbers & Floats

    Crappie are considered schooling fish that will hang out in schools with other panfish, as well as their own crappie species (black and white). They only move to the shores when feeding time arrives, at dawn and at dusk. There are a few different techniques that will work to catch this evasive and playful species; vertical jigging, bobber (float) fishing, drag-lining, and spider trolling just to name a few.

    Alot of fishermen stick with the theory, ‘slow and steady wins the race.’ The crappies seem to provide tougher striking action when the angler is slow on the retrieve. Keep your line tight or the crappie will shake the hook and possibly run off with the live bait. If using artificial bait/lures you will miss the setting of the hook if the line isn’t tight.

    The top 5 bobbers and floats to pair with your jig are as follows;

    • South Bend Wooden Spring Float
    • Mr Crappie RP78P-3YG Rattling Round and Pear Floats
    • Thill Wobble Bobber
    • Fishing Bobber Cork Float Antenna
    • Rattling Round and Pear

    Top 5 Crappie Jigs/Lures

    As stated before, crappies love to hang out around thick brush, downed trees, and other structures. The feisty crappie will hold close and steady to the structures and ambush their prey, which consists of crayfish, minnows, and shad. 

    The top 5 crappie jigs/lures are:

    •  Berkley Crappie Nibbles
    • Johnson Beetles Mini Spinnerbait
    • Scented Minnow Crappie Jig
    • PowerBait Power Minnow
    • Bobble Garland Baby Shad

    Along with almost any jig and the lures above, a lot of anglers choose to use a slip bobber over the standard clip bobber. There are also many fishermen who do not know what a slip bobber is or how to use one. We are going to cover this in our next section. But, it wouldn’t hurt to do some more intense research on the slip bobber. Knowledge is power and when it comes to the elusive crappie, you need all the knowledge and tricks that you can come up with. 

    Slip Bobber vs Clip Bobber

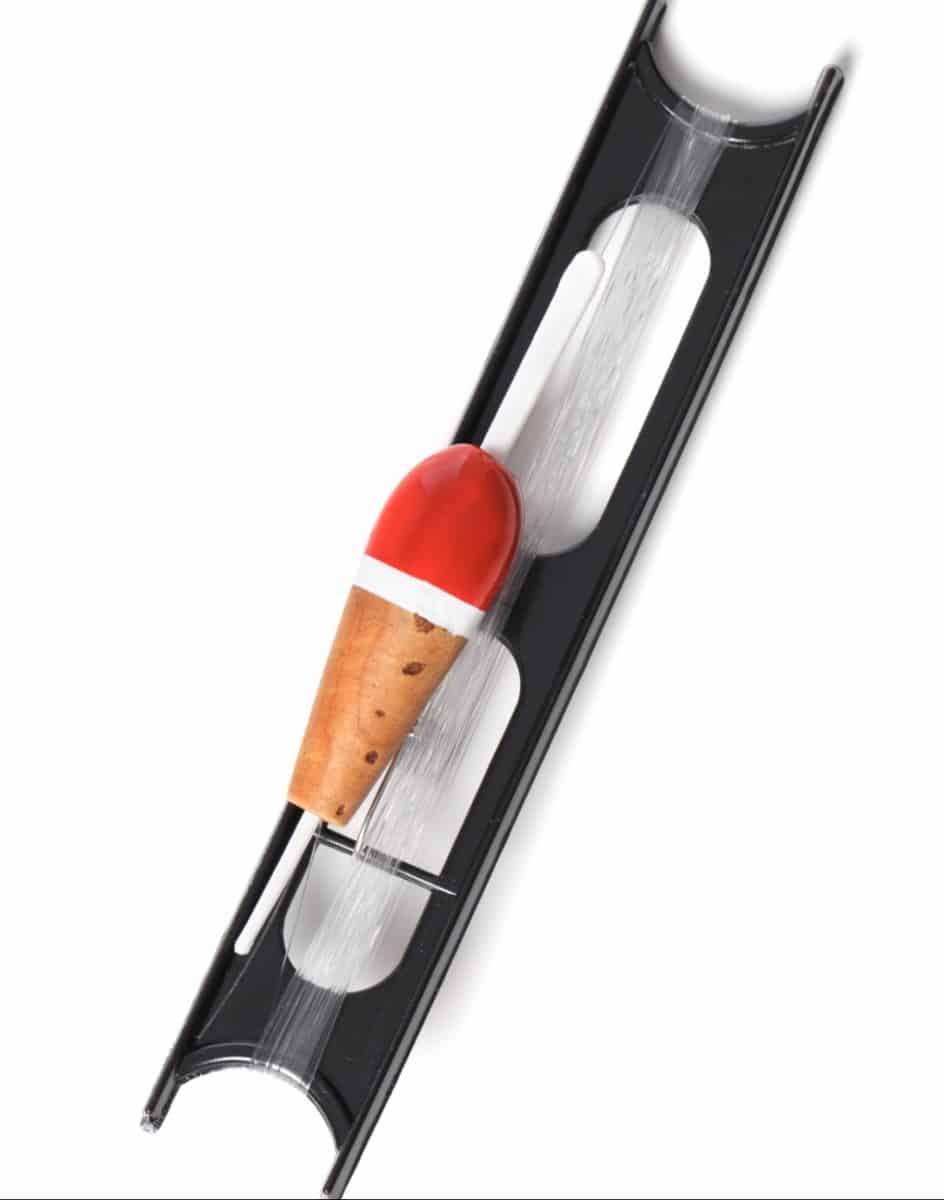
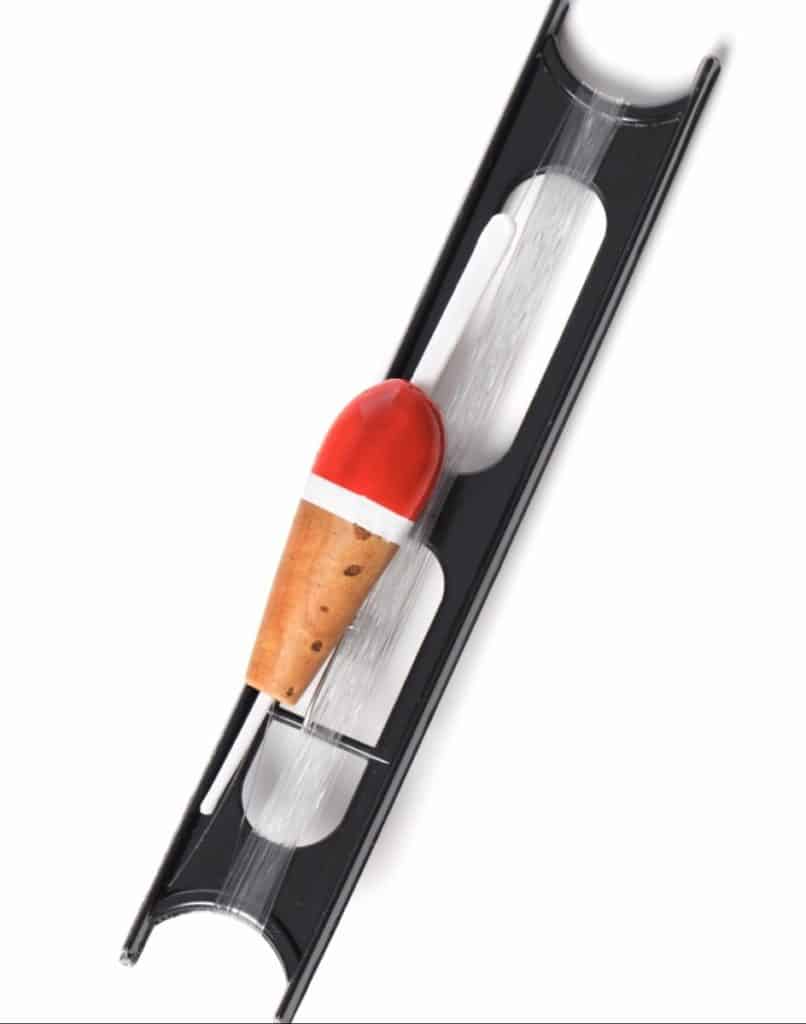
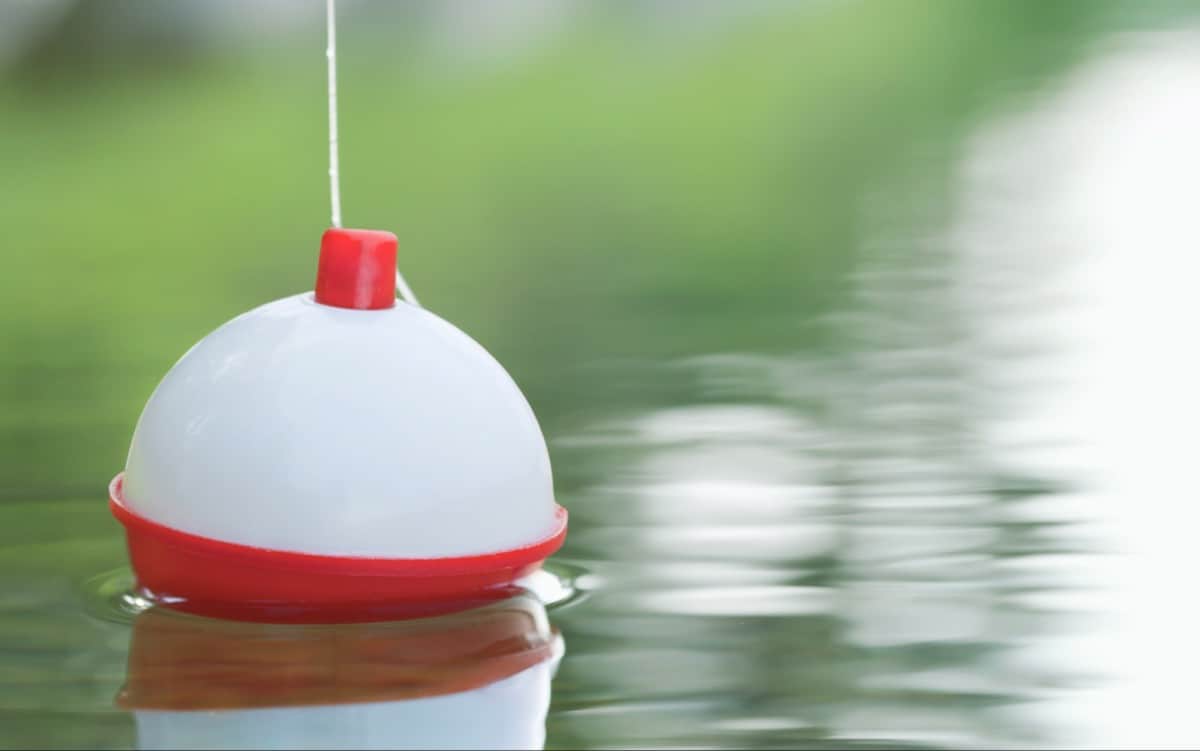
    Clip Bobber – fixed on your line at the depth you want to fish. The red & white bobber that we all used as a little kid when we went fishing. It kept our bait off of the bottom of the lake and also alerted us when the fish had taken our bait off of the hook.

    Slip Bobber – slides freely on your line which is stopped by a stopper that you place on the line where you want it. The stopper is set up on your line for however deep you want your bait to be. For example, if you want the bait to be 6 feet below the surface, then you set the bobber stopper 6 feet above the bait. 

    There are 2 advantages to using a slip bobber over the clip (fixed) bobber:

    1. The ability to set your bobber at any distance from your bait
    2. It increases your casting distance. 
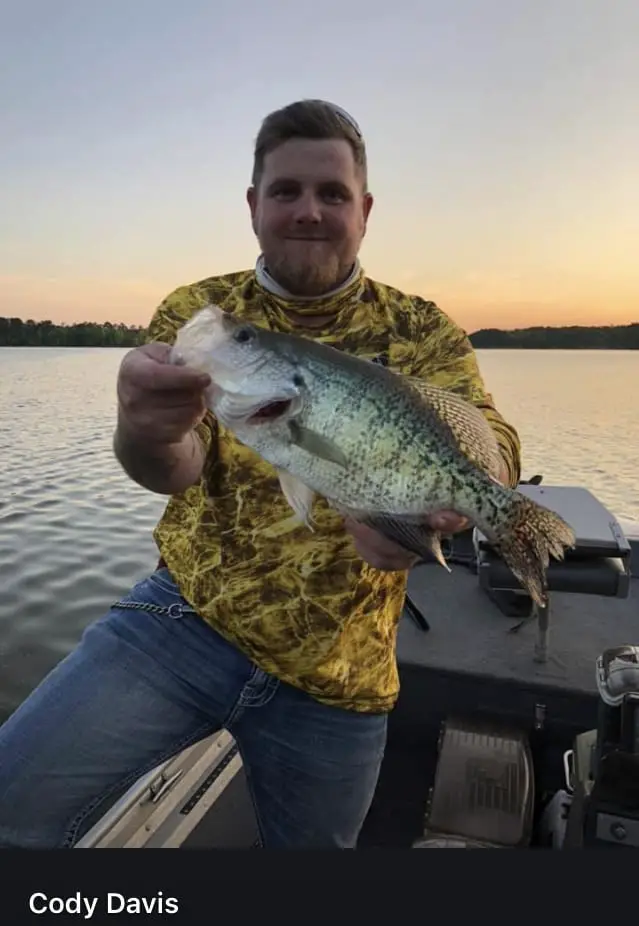
    Cody Davis White Crappie Slab

    Crappie fishing in the springtime can be fun, exciting, and challenging. Whether you use live bait, artificial bait, or lure you can pair it with a jig and be successful with catching a crappie. Be mindful of the water conditions and match your jig. Also keep in mind that in the spring time you will find the Croppie much higher up on the banks in shallow water.

    At this time of year they are spawning and if you look closely you may see their nests in the water. They appear to be small circles about the size of a frisbee. This time of year is so good for fishing because the Croppie are feisty and determined to protect their nest. So if you have time to plan a fishing trip, you might want to consider March and April because they are some of the most productive fishing times for crappie.

    Remember there are many techniques used to catch crappie, so experiment and figure out which one works better for you and the area that you are in. A lot of factors are involved in being successful when catching a crappie, or any fish for that matter. So make sure you have plenty of hand tied jigs and rubber jigs in various colors and then go out and have some fun with friends/family. 

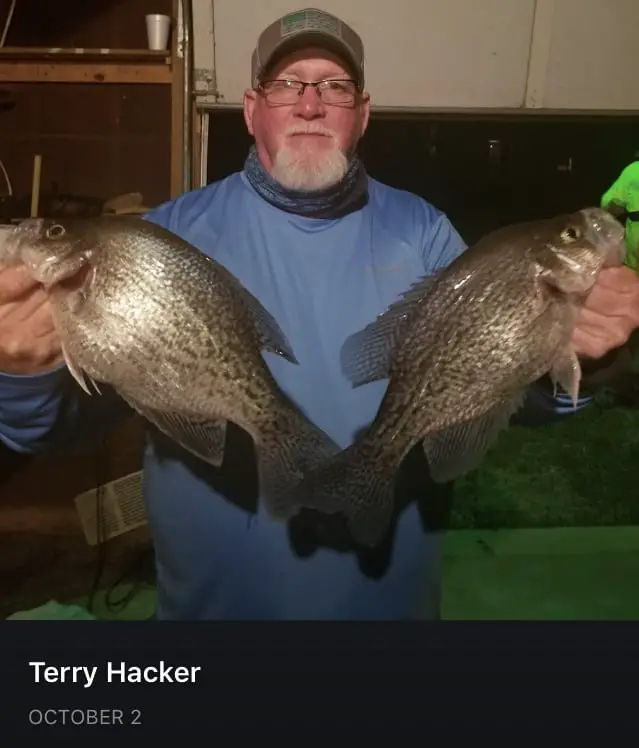
    Terry Hacker Double Crappie Catch

  • Fishing Reels, Can They Get Wet?

    Fishing Reels, Can They Get Wet?

    Today we are going to talk about fishing reels. We will tell you about the 3 main reels, discuss freshwater and saltwater reels, and cover whether or not your reel can get wet. If your reel does get wet, what are the consequences or best ways to handle it. 

    Have you ever had one of those reels that gets dunked or dropped in the water and gets sand in it? Then it feels like a pepper grinder when you reel it? Ewwww…

    For the most part, fishing reels were made to get wet occasionally, however if you are fishing in salt water it’s a good idea to rinse your reel with fresh clean water in an effort to get the salt off. This will make your equipment last longer and protect it from rust. It’s also recommended to lubricate your reels more often if they are getting wet.

    How To Fix It, I Dropped My Spinning Reel In Saltwater

    There are 3 main reels on the market today. We are going to cover some basic information on each one for you.

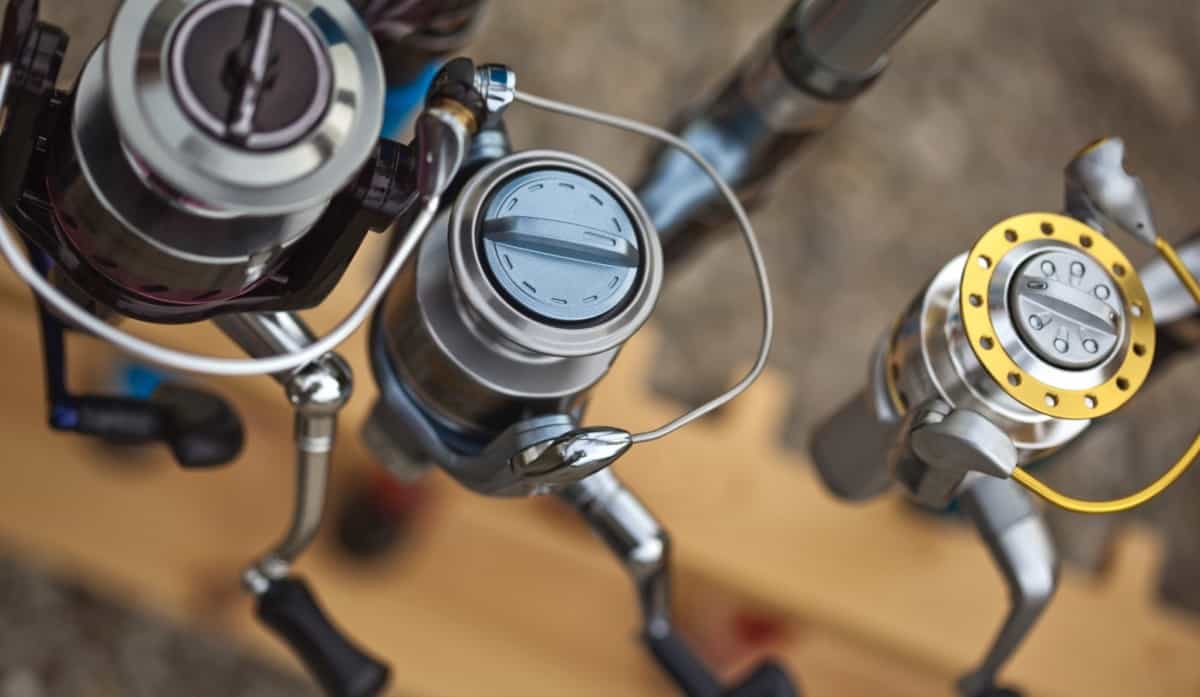
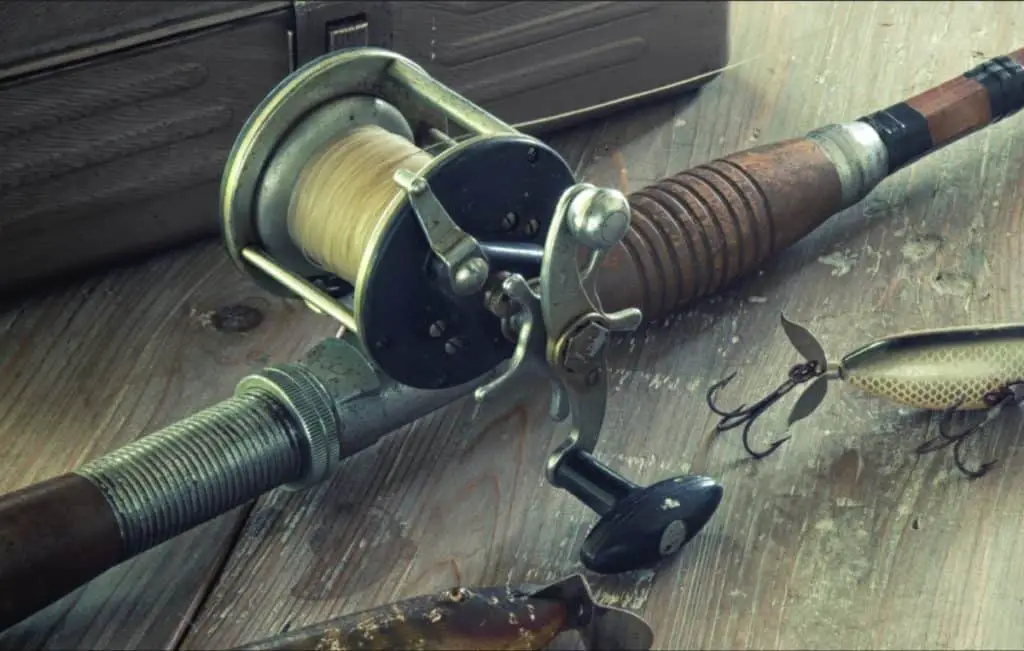
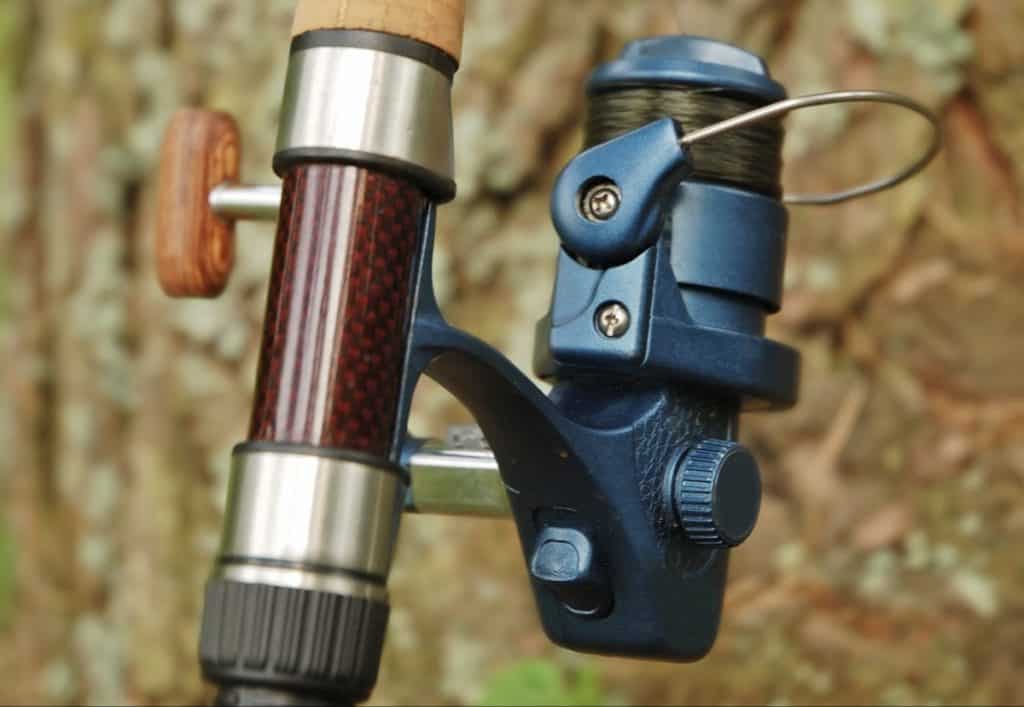
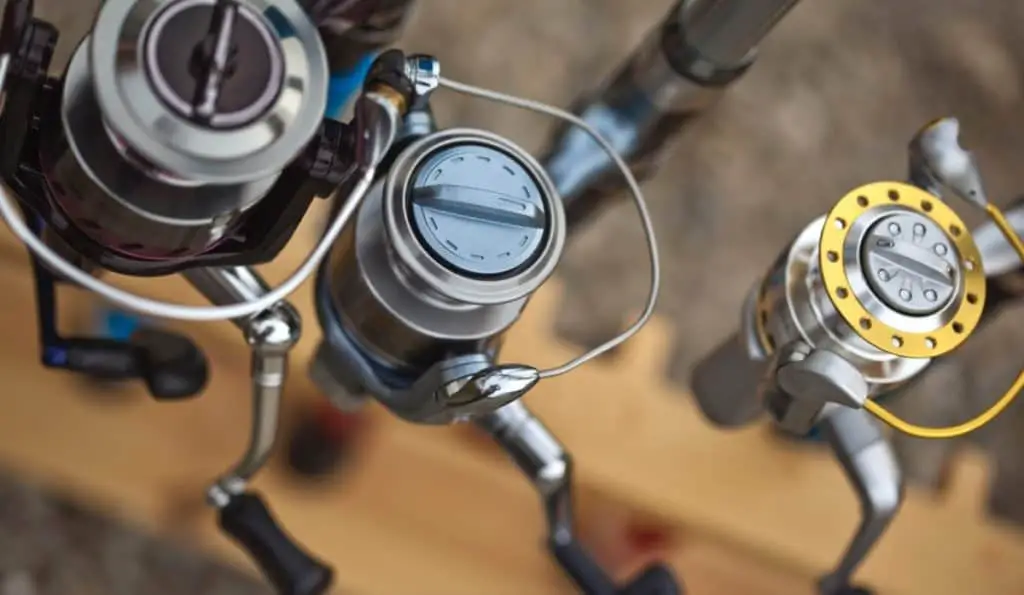
    1. Spinning Reel, also known as an open face reel. These are my favorite by far! These reels are the most popular, easy to cast, and are more accurate. You can cast farther with the spinning reel than you can with the closed-face reel. Here you have good line capacity, which allows you to have more line than other reels. There is also an extra spool making it easier to change out your line on the water. The spinning reel is great for light lures and the line flows freely. These reels are recommended for experienced anglers, though they are pretty easy for a beginner to learn to use. Spinning reels are not recommended for heavy test line and they are one of the more expensive reels. 
    2. Baitcasting Reel is the most advanced of the 3 reels that we are discussing today. Many Bass fishermen use them. I’m not too good with them though. You need a lot more skill and practice to effectively use a baitcasting reel. These are frequently used by professional anglers at tournaments. As the line is released the spool will rotate. The baitcasting reel has the most accuracy, distance and is the most expensive. This reel offers a fast and powerful retrieve and is ideal in catching the bigger, heavier, and harder fighting fish. There is one con to using a baitcasting reel; they are prone to tangled lines and backlash.
    3. Spin-casting Reel, also known as the closed face reel has all of the components enclosed under a nose cone. In the center of the cover is a hole, where the line comes out. To cast, all you do is push the button on the back of the reel, throw out the line and just before it hits the water you release the button. The spin-caster is best for kids and beginners to learn with as there is no backlash or tangled lines to worry about. It is also the least expensive of the 3 reels. 

    The difference between freshwater and saltwater also determines whether or not you can/should or shouldn’t let your reel get wet. You can actually divide reels into categories of freshwater or saltwater:

    • Saltwater is brutal on metal, therefore saltwater reels are usually made from stainless steel and other parts that are non-corroding. But even after long periods of time, these reels will show some damage.
    • Freshwater reels will get corroded and damaged with any kind of saltwater contact. You can help prevent this by rinsing your reel with freshwater as soon as you can after a fishing trip, but this is no way a long term solution.
    Sometimes when the water is quiet you can almost hear the fish laughing at you...

    Saltwater reels are more expensive, but if you can afford it, it is highly recommended. This ensures that you can fish anywhere that you want to go, whether it is freshwater or saltwater. Otherwise you need two seperate poles or you can risk using your reel in saltwater and replacing it fairly often. 

    If you are fishing in freshwater, it is not going to hurt your reel to get wet. The salt in saltwater is what eats at the material that your reel is constructed of. But it is advised to dry off/out your reel is it is completely submerged in water.

    There are five main differences between saltwater and freshwater reels:

    1. Materials used – freshwater reels are made with more simple metals and work fine for fishing strictly in freshwater. Saltwater reels are constructed of tough metals and alloys that can withstand the corrosion of saltwater, because they are coated with a protective sealant. 
    2. Sealed components – this includes bearing, drag systems, gear boxes, and other pieces. These are not as vulnerable to saltwater corrosion. The seals function like gaskets on a car and they keep the saltwater from reaching the inner working parts.
    3. Line & lure – Saltwater are designed for heavier line and bigger lures, where as the freshwater reels normally run 4 pound test line and ⅛ to ½ ounce lures. There is a little bit of a cross over between the 2, but it mostly pertains to the lures/bait that you are using. You can’t get too heavy on 4 pound test, but you can’t be too light on a saltwater line that is 12+ test. 
    4. Cost – Saltwater reels are going to be quite a bit more expensive than a freshwater reel because of the pieces/parts used to make them. So, invest in a saltwater reel that you will still be using in ten or fifteen years instead of replacing your reel every single fishing season. 
    5. Reel types – freshwater anglers most generally use the spinner reel, spin-casting, or baitcasting reel. Saltwater fishermen use a different reel depending on the fishing situation.

    Unless your reel is made of wood, paper, or another water soluble material, it is not going to harm anything if it gets dunked or dropped into the freshwater. Just make sure you dry it as well as you can when you get home. You can also lay them out in the open air to help dry any extra moisture. 

    So fear not, if you have your younger children with you and they let go of the whole pole when they cast or they freak out when they get a fish and let go. It is not going to damage the reel to get wet. But you may have to replace a pole if the fish runs away with it. 

    I hope we have covered all you wanted and needed to know about saltwater and freshwater reels. When you go in to buy your reel, make sure it is a great fit for your pole. There are some combinations that are not very compatible. When you are saltwater/deep water fishing you definitely want a stronger rod, so that you are not replacing them continuously.
    As always, Happy Fishing!

  • Fishing Line, Can It Cut You?

    Fishing Line, Can It Cut You?

    Monofilament, Flurocarbon, and Braided are the main types of fishing line that anglers use. But do you know what each is made of? Do you know if you can be cut by the fishing line you have on your pole? We are going to delve into this topic today. I will talk a little it about each kind of line, what it is made of, can it cut you, and how to protect your hands/fingers from being cut. I like mono cause it’s cheap…

    CUT BY FISHING LINE!

    Monofilament – made from a single fiber of plastic, making this type of fishing line cheaper to produce and therefore cheaper for us to purchase. It comes in a wide variety of diameters and test strengths. Mono is the most popular fishing line because it is very affordable. This type of fishing line is not recommended for deep water fishing because it absorbs water. The absorbing of the water will loosen the knots and decrease the sensitivity. The plastic used is strong and flexible and can be dyed many different colors or left as clear fishing line. Mono line is easy to handle, works well in many situations, easier to cast, and flexible. By the way all my reels are wound with mono.

    Flurocarbon – this is the most expensive type of fishing line on the shelves. Virtually invisible underwater with very little stretch, leads to better hook-sets. This line is more abrasion resistant and has more memory than other fishing line, like Mono. Flurocarbon is stiffer and less likely to tangle, but dense enough to sink. This makes for excellent trolling and spinning lures. 

    Braided Line – this is smaller in diameter compared to Mono. Used mostly in heavy forage areas because of its high strength and abrasion resistance. This was one of the earliest types of fishing line to be manufactured. Braided fishing line has incredible knot strength, lack of stretch, and superb power in relation to its diameter. One drawback of braided line, fish can see it in the water! Constructed of man-made material like Spectra or Micro-Dyneema (which we will cover in more detail). Braided line has so much strength that anglers have considerable trouble breaking it when their line is snagged.

    Now that we have provided you with some of the basic information on the three types of fishing line, it is time to answer the question; can fishing line cut you? That depends on what type of fishing line you are using. Modern fishing line are mostly made from artificial substances:

    • Nylon
    • Polyvinylidene fluoride
    • PVDF (flurocarbon)
    • Polyethylene

    Dacron is a fiber produced by DuPont, and is the registered name for polyester fiber.

    Dyneema is considered the world’s strongest fiber and is used to prevent rope failure. Dyneema is 15 times stronger than steel and is made from Ultra High Molecular Weight Polyethylene (UHMWPE).

    Spectra is tiny filaments of super strong material. When braided together you get a thin but amazingly strong fishing line.

    The three materials listed above is what braided fishing line can consist of. There are many companies out there that make fishing line. It is going to be your duty to try some of them out and decide which brand and style is your favorite. You can research them on the internet, look at the reviews and ratings or you can just do it by trial and error. The line that you purchase also needs to correspond with the fish you are trying to catch. You don’t want to use 4 pound test if  you are deep water fishing for a HUGE catfish. 

    Thin Mono and wet fingers can be cut, but braided fishing line can easily cut to the bone. If you do not know how or have never used braided line then it is highly recommended that you don’t use it without some kind of protection. Otherwise you can easily cut off the tip of one of your fingers. 

    Some suggestions to protect your hands and fingers;

    • Gloves
    • Medical/hockey tape (NOT electrical tape)
    • Finger guards

    Gloves work, unless you do a lot of surf casting, then they wear out quickly. Medical/hockey tape is inexpensive and works amazingly. The finger guard is made from a piece of leather with a flexible material on the outside. The finger guards can be found at most bait and tackle shops and they are reasonably priced. It protects your finger and is flexible, whereas the tape is not going to be as flexible as you need it to be. 

    One avid angler high recommended KT tape. It is a little bit more expensive than medical or hockey tape but it is flexible and works the best out of all finger protectants. This can be found at any pharmacy or retail stores, such as WalMart, in the first aid section. 

    So, we have answered the unknown question; can fishing line cut you? Yes, especially braided fishing line. So please make sure whether you have fished with braided fishing line or not, you use finger protection. No one wants you to have to get a bunch of stitches or be missing the tip of your finger. Fishing is a fun, relaxing, memory making sport that the whole family will love. Let’s not get seriously hurt while doing something that everyone loves to do.

    “Be careful of broken people. Their sharp edges may cut you.”
    ― nickiesha reid

    I hope that I have given you the best information on what finger protectants to use, the details of fishing line and what it is made of. Please make sure you are safe and careful when you are out fishing. Have fun making memories with your family and friends and as always, Happy Fishing! 

  • How To Make a Fishing Stringer

    How To Make a Fishing Stringer

    If you are fishing from shore, a bridge, or a dock and plan on keeping what you catch, then get a fish stringer. (unless you are like me, then you might not need one…LOL) You can also use them if you are fishing from a boat that doesn’t have a live well. You can purchase or make them yourself. We will give you some background on fish stringers, what they are, where to buy them, and supplies you need to make them on your own. Let’s get started!

     “If people concentrated on the really important things in life, there’d be a shortage of fishing poles,” Doug Larson.
    DIY VERY EASY! learn HOW TO Make a FISH STRINGER
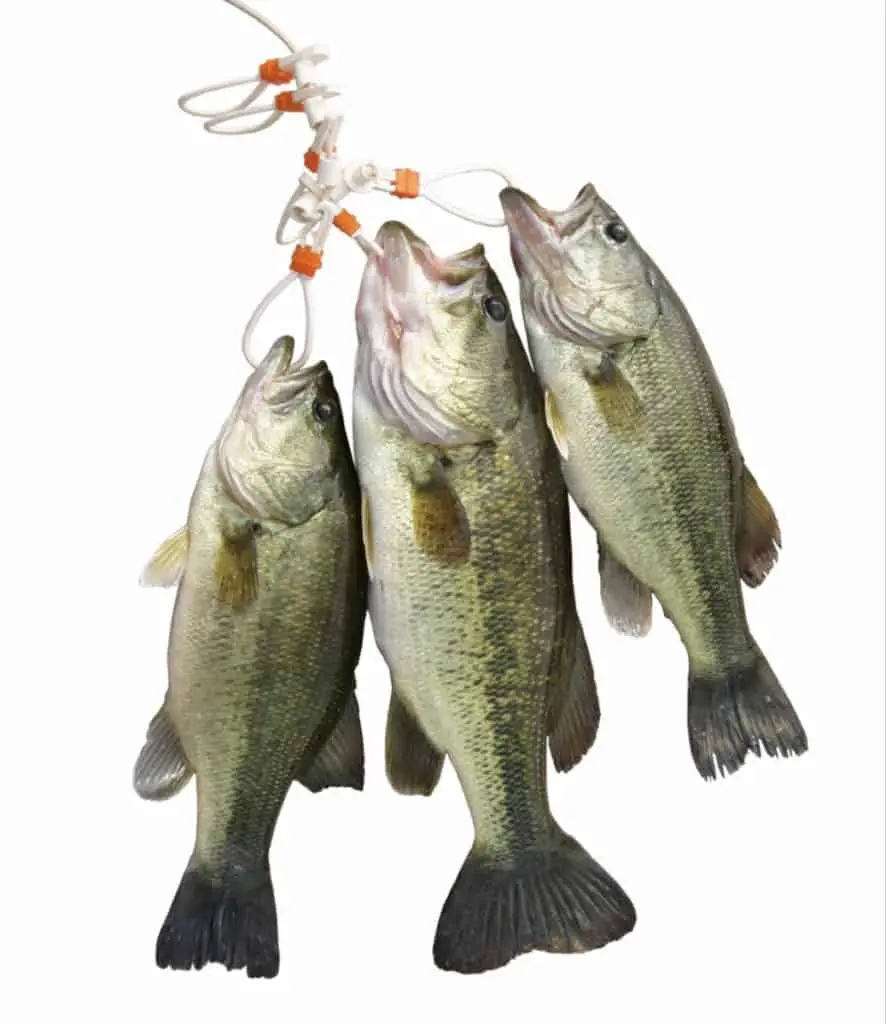
    Stringer Of Fish -Bass on Stringer

    Types of fishing stringers

    According to Wikipedia, the definition of a fish stringer is; a line of rope or chain along which a fisherman can string fish so they can be kept alive in water. There are 2 general types of fish stringers; a rope stringer or a chain stringer. Which type is best for your stringer of fish?

    Chain Stringer

    A chain stringer has safety-pin type snaps along the length of the chain and are used to clip onto the fish. The fish stay immersed in the water until you are done for the day. We will cover a little more on chain stringers in a little bit. 

    Black Crappie

    Rope Stringer


    A rope stringer is the easiest type or form. It is made from rope or wire with a stringing needle made of metal or hardwood at one end. (these are the type I use now cause they are easy. When I wasyounger I used the chain ones.) You use the needle to thread the stringer through the gills of the fish. The other end usually has a wire ring that secures the stringer in the dirt. 

    How many times we took off in the boat only to remember  the stringer dangling overboard..FishinMoney

    There are hundreds of styles of fish stringers on the market. Some of them are simple and affordable and some of them are fairly expensive. It all depends on the types of materials used to construct the fish stringer. The heavier weight stringers are going to be more expensive. We are going to take a look at a couple fish stringers that you can purchase from several online stores. 

    “Early to bed…early to rise…fish all day…make up lies,” Author Unknown.
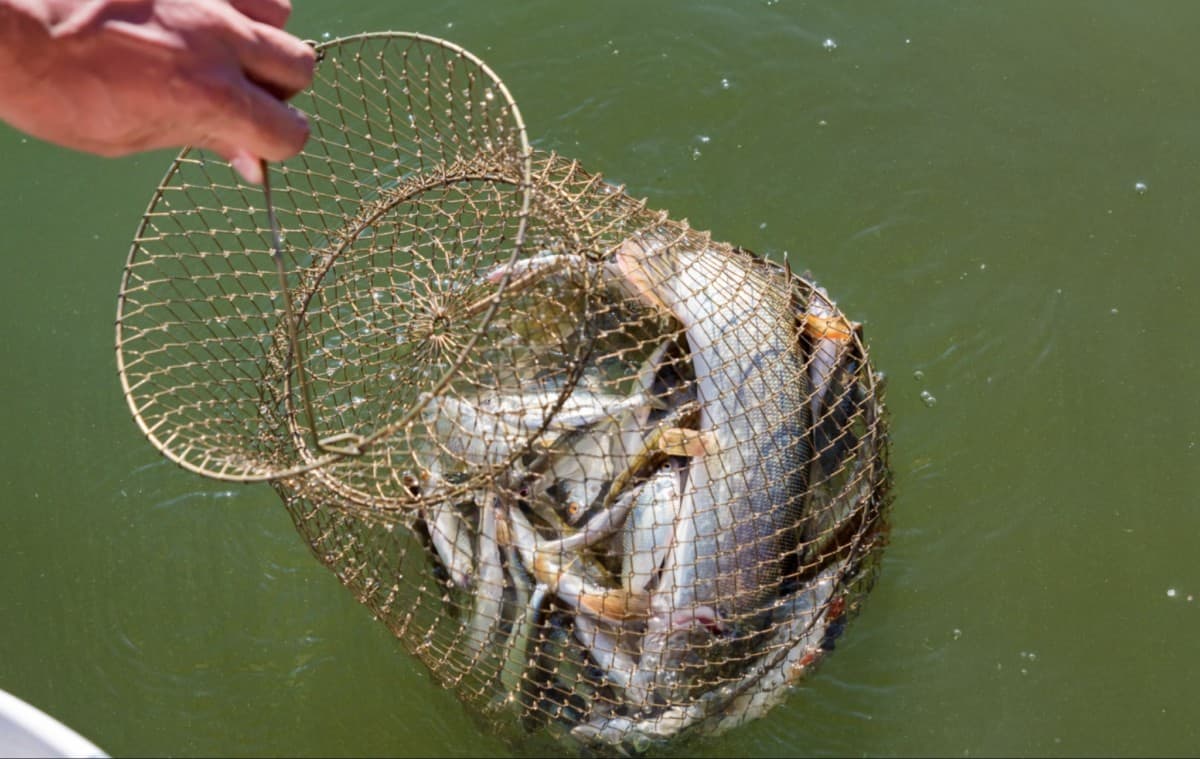
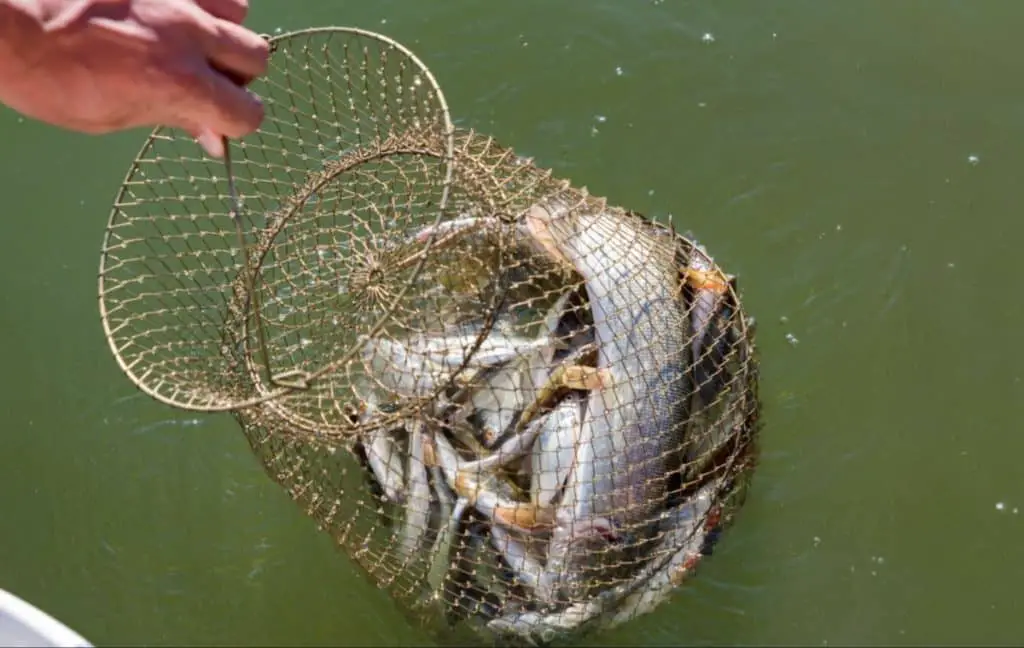
    Collapsable fish basket

    Paracord stringer

    Made by Paracord Planet; 10 foot, 550 pound Paracord Stringer Fish Holder. Very affordable with a metal ring and metal threading needle. It is available in 12 colors and is under ten dollars. The needle has a blunt sharp eds, making it easier to stick into the ground or thread through the fish. With the paracord fish stringer  you won’t have to worry about any metal clanking on the side of the boat and scaring away the other fish. It is perfect for shore fishing, wading, or fishing from the dock.

    Also available online is the JSHANMEI Clip Lock Fish Stringer. This one is made with metal wire and has 5 clips/snaps. It also has a stainless steel fish buckle, fish barrel swivel, superior quality stainless steel rubber covered soft steel wire, alloy ground support stand, and a mountaineering buckle. The snaps on the fish stringer are 5.5 inches long and the widest point is 1.8 inches. The wire rope length is 19.6 feet  and also comes in at under $10. 

    Heavy Duty Fish Stringers

    On the more expensive side of fish stringers, there is the RLQ Heavy Duty Fish Stringer. This comes in 2 colors and 2 sizes; silver or green and 60# or 70#. The 60# stringer is 6 meters in length and the 70# is 7 meters in length. This stringer has 5 clips, a hollow reel, and is easy to handle and store. Use the fish block on this stringer with clams, this helps to keep the fish alive while you continue fishing. The hollow reel reduces the drag and is flexible and smooth. This particular fish stringer comes in at over fifty dollars.

    “I spent most of my money on fishing. The rest I wasted,” Author Unknown.

    If you are a DIY type of person, then there are plenty of options out there for you as well. You can use metal, paracord, rope (nylon) or even an old dog leash to make a homemade fish stringer. These DIY fish stringers were found by doing an internet search. These are not our creations or projects, but the ones we found and thought that you may want to try. 

    DIY Fish Stringers

    This first DIY project was found on spearboard.com. It seems pretty easy, but not sure if the directions are as clear as they could be. Drill a hold in a piece of metal, about 6-8 inches long. If you know how to rig a speargun then you know what to do with this. Get some wire and a crimping tool and crimp it up. Otherwise you could get a beat up wire hanger, make an eye in the middle and tie off to it. 

    “You say I`m a compulsive fishing freak like it’s a bad thing,” Author Unknown.

    As I said, not super explanatory, but if you know what a speargun is and does, then you are going to be able to create this fish stringer fairly easy.

    The next one seems easy enough, only containing 8 steps to complete. It was discovered on tackleunderground.com.

    1. Get cord and wire that is 16-18 gauge
    2. Find a nail or something that is just a touch smaller than the cord or wire 
    3. Wrap the wire around the nail 5-10 times, try to make it as uniform as you can
    4. Feed the cord through the wire loops that you just made
    5. Cut the rope diagonally to create a sharp point
    6. Push the sharp point through the cord from the bottom up
    7. Burn the cord on each end and squash it flat
    8. Crimp the last wrap on the cord. 

    There are also hundreds of videos on YouTube that will walk you through, step by step, on how to make a fish stringer. Some of the videos are by professional or very seasoned anglers and some of them are produced by everyday people like you and I who love to share their ideas and insights with the world. 

    As stated before, you can use paracord, wire, rope, and other materials. You can make them as easy and light or as heavy as you wish, depending on what kind of fish you are going to be catching and stringing. The videos are very easy to follow and when you are done you will have the perfect fish stringer and it will be time to hit the lake and catch some fish.

    I hope you have provided you with the information that you desire in order to purchase or DIY your own fish stringer. You can use these to keep fish immersed in water, until you are ready to let them go or take them home and fry them up for dinner. There are tons out there to purchase, a bunch of DIY projects all over the internet, and many materials that you can use to make the fish stringers, even recycled materials that you may have laying around your home. 

    So, lets get those materials and get to making a fish stringer! Happy Fishing and Be Safe. 

  • How To Keep Fishing Rod Joints From Sticking

    How To Keep Fishing Rod Joints From Sticking

    One of the worst things that could happen on one of your fishing trips is your rod joints sticking. What causes this? How do you prevent it from happening? How do you fix the sticking joints? These are some questions that we are going to answer for you today. There are always other ways and other opinions than what we provide you, so you may have friends, family, or a mentor that will have some ideas that we do not cover here.
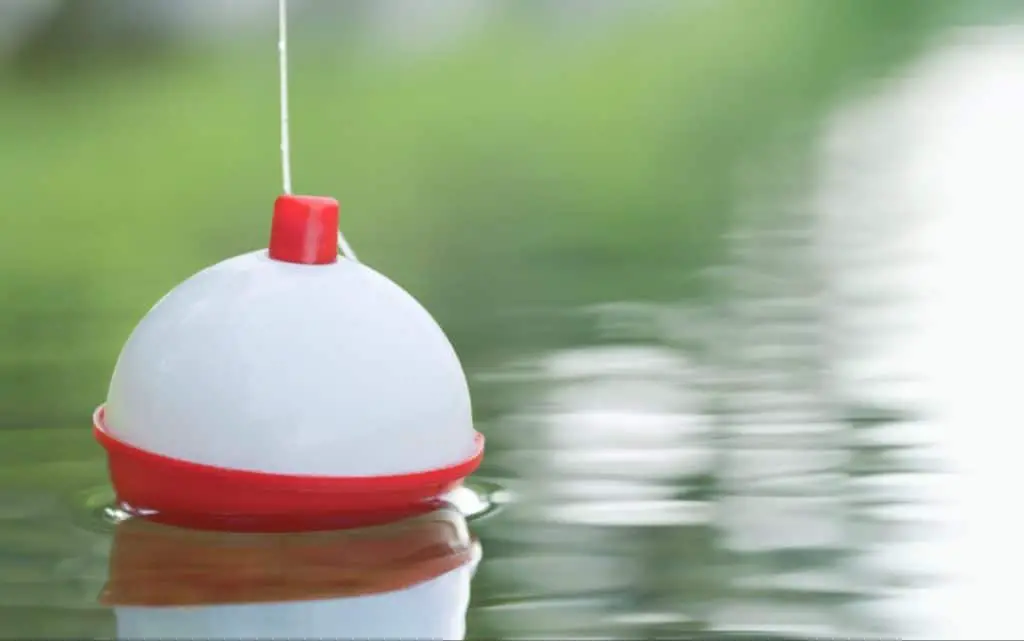
    “Work is for people who don’t know how to fish!” Author Unknown.
    Rod and reel

    A joint (or ferrule) is an important part of your fishing rod. They are narrow rings, usually made of metal, and they prevent the end of a handle or stick from wearing out or breaking. There is a male and a female joint (ferrule) on every rod that is made, as long as it is 2 pieces. When you put your rod together you should have a 0.5cm – 1cm gap. The best way to put your rod together is slowly twist it together. Never shove or try to ram it together.

    The main reasons for the sticking joints on your fishing rod are dirt, sand, excessive saltwater, and other debris. To keep your joints from sticking, your best bet and the most recommended solution is to clean your pole after every trip especially if you mostly fish in saltwater. Make sure that you store it in a clean, dry place; preferably covered. 

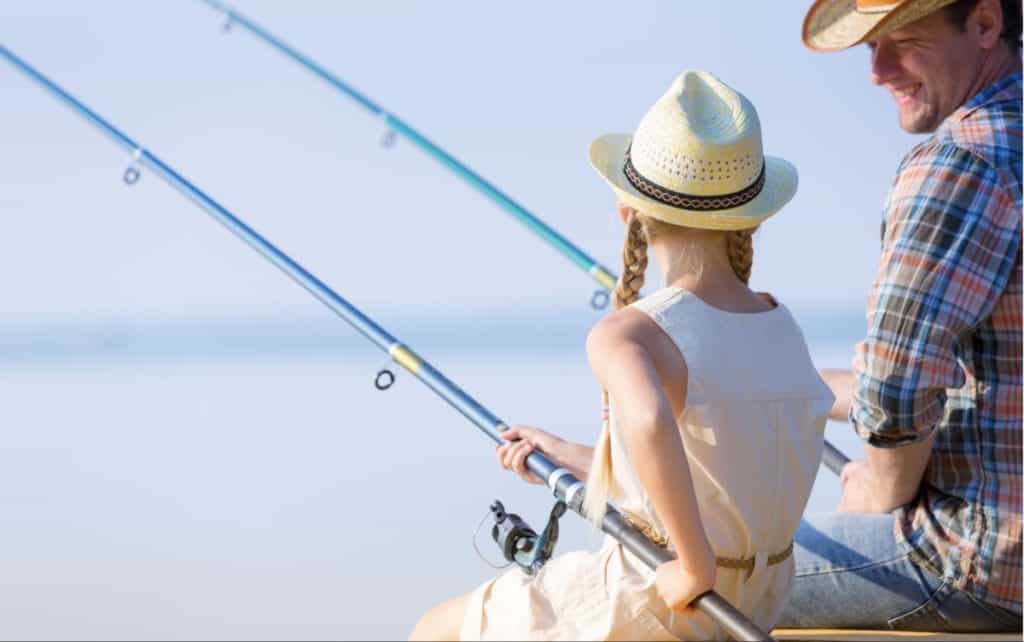
    Father and daughter fishing

    There are many reasons why your joints can stick, as we mentioned above, and there are just as many ways to get them apart. Some are recommended, some are highly disagreed with, some work and some do not work. You could put 20 fishermen in a room and they would all have a different solution to fishing rod joints that are stuck. There is no real right or wrong way to get them unstuck. It is going to be trial and error. What works for you may not work for the next guy, and visa versa. Let’s get into a little more detail on the things that are making the joints stick on your fishing rod.

    Excessive water, heat, and saltwater can expand the male section of your rod overtime and cause them to swell a bit and get ‘stuck’ together. A small grain of dirt or sand, salt, or any other debris that gets into the joints will make them tough to get apart at the end of the season. 

    “Even a fish wouldn’t get into trouble if he kept his mouth shut,” Author Unknown.
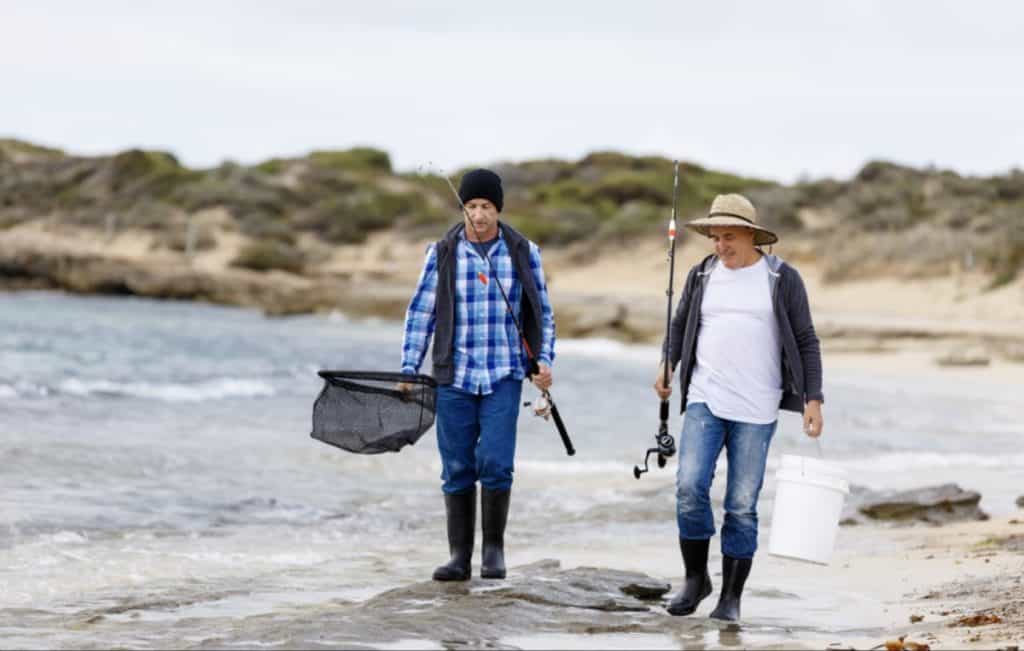
    Friends fishing

    Let us now talk about a few of the ways that you can get your fishing rod joints unstuck. 

    One of the first things that most people do is try to pull their rod apart. A lot of fishermen keep some kind of pads or rubber gloves in their tackle box just for this issue. Be very careful how hard and what direction you pull because your pole could bend or twist in the wrong direction and crack or even break.

    If pulling alone doesn’t work, you may need to tag team the issue with a friend. Kind of like playing tug-of-war. Avoid the eyelets (guides) to ensure they do not get broken off. To try to unstick your joints with a friend; both of you need to put a hand on each side of the joint (as you would if you were working alone). This gives you double the pull power on both sides of the rod. Some fishermen will tell you that this is the worst way to get your rod apart. Because the pole will not be pulled apart completely straight and more times than not you are going to end up with a broken rod. Especially if it is a light spinning rod or a fly fishing rod. 

    “There are two types of fisherman – those who fish for sport and those who fish for fish,” Author Unknown.

    Some anglers have tried the hot/cold method and swear by it. Many will heat up the “female” side of the rod (joint) in an attempt to make it swell or expand, allowing you to easily remove the male joint. This has worked for a few fishermen, but it may not be quite enough for your fishing rod. 

    You can give WD-40 a shot. Let it soak into the 2 joints for a few minutes and you may be able to slide your rod apart. This is the least risky way to conquer stuck joints, but it doesn’t seem to have a very good success rate. 

    The next method that some anglers attempt is to cool down both sides of the joints, believing it will loosen the rod. Some of the easy ways to accomplish this; place a bag of ice (or a bag of frozen veggies) around the joint, or leaving your rod outside on a cooler night. As with the other suggestions, this has worked for some but not for others. 

    Once you get your rod unstuck, be sure to clean out both joints very well. Depending on how often you go fishing and how often you fish in saltwater, you are going to want to clean your pole on a regular basis. We are going to give you a few ways to lubricate your rod, and ways to transport and store your rods at the end of the season to prolong the joints from getting stuck. 

    Some of these are going to seem a bit odd, but they are said to work, by many fishermen. One of the ways to lubricate the male joint is to run the joint up and down on the side of your nose, or threw your hair a few times. Odd? Yes! But the natural oils in our skin and hair are the perfect lubricant for your rod joints. It will make the rod slide together easily and come apart just as easy. 

    “‘Carpe Diem,’ does not mean ‘fish of the day,’” Author Unknown.

    The ultimate way to lubricate your fishing rod joints is to use ferrule wax, which comes with the purchase of some fishing rods. You can also use a candle and run it along and around the male joint for lubrication before you slide the joints into place. 

    Here are some tips to care for your fishing rods, how to transport them safely, clean them at the end of the fishing season, and the best way to store them in the winter. 

    General Care:

    • Never hang lures or hooks from the guides (eyelets). This can scratch the surface of the guides and believe it or not affect your casting. It can also cause issues with your line, if the guide isn’t changed right away.
    • Do not let your lures bang on the tip of your rod by reeling it in all the way. 
    • Never strike your rod on or against something strong or hard. 
    • Do not ‘high stick’ or lift the rod past a 90 degree angle when fighting a fish on the line.

    Transporting your rods:

    • Do not set or lay anything heavy on them
    • Keep rods and tackle/other fishing equipment separate
    • Do not store them, while transporting, where they will be in straight UV light for long periods of time

    You want to transport your rods carefully. This prevents any debris from accumulating in or around the joints. Laying something heavy on the pole can weaken the joints. Keeping all your equipment separated will keep the rod and guides from getting any kind of abrasion damage. Humidity is also a huge factor in your fishing rod joints sticking.

    “Nothing makes a fish bigger than almost being caught,” Author Unknown.

    Cleaning your rod:

    • You want to wash the rod with hot soapy water and allow it to dry completely.
    • Clean the joints well. Wipe down the male ferrule and apply a little bit of wax or other lubricant. Take a Q-tip and clean out the inside of the female joint, making sure there is no dust, dirt, or debris left behind. 
    • Check all of your guides for scratches, and replace them on the spot. Scratches in guides could cause issues with your line, like snagging and even breaking. 

    Storing your rods:

    • DO NOT lean the rod against the wall or in a corner against the wall. Overtime, this will cause an unwanted bend in your rod.
    • DO use some kind of rack to lye your poles on, keeping them up off of the ground to avoid being kicked or stepped on. 

    There you have it, my fellow anglers. Why fishing rod joints stick, ways to get the fishing rod joints unstuck and things to do to prevent it from happening in the future. I hope this was a successful and helpful article for you and I hope that this never happens to you, as it can be a terrible situation. Unfortunately if none of the suggestions work, and none of your friends/family have any solutions or suggestions, you are going to be stuck spending money and buying a new rod. Just remember, depending on how often you go fishing and how often you fish in saltwater, that will determine how often you should take your pole apart and clean it. Getting on dirt, dust, debris and salt out of the joints. Until next time, happy fishing!
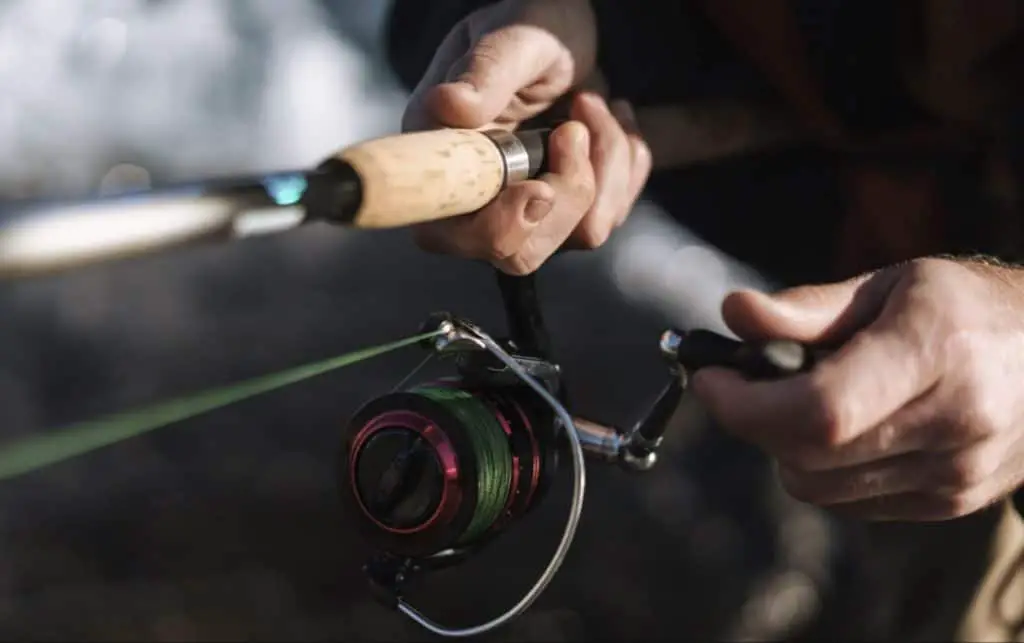
  • Why Do Boats Have Two Motors

    Why Do Boats Have Two Motors

    Depending on what boat you have chosen to purchase, or upgrade, you could have 1 motor or 2 motors. I have, as an amatuer, wondered why there were 2 motors on some boats. I always thought that one motor should be plenty on a boat. But, I found out that the smaller of the two is normally for trolling purposes. (Mine is anelectric trolling motor)

    “Men and fish are alike. They both get into trouble when they open their mouths,”
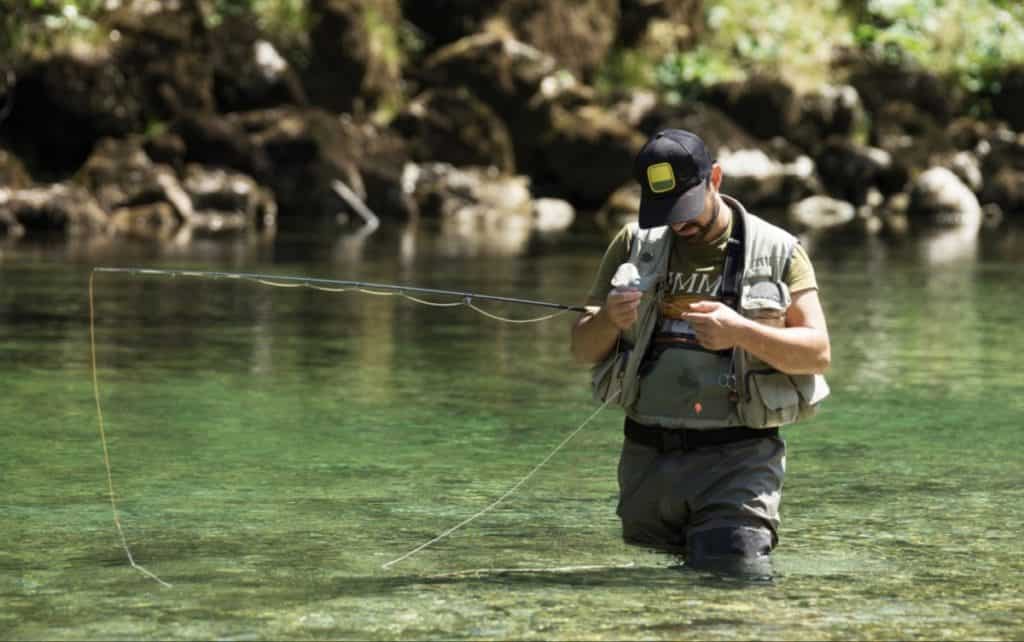
    Steering a dual engine boat

    The engines can be the same size or they can be different sizes, which is normally the case if one is for troling. We will go over the why’s later in the article. We will also cover some specifics of onboard motors, trolling motors, the different horsepowers, and specific uses for them.
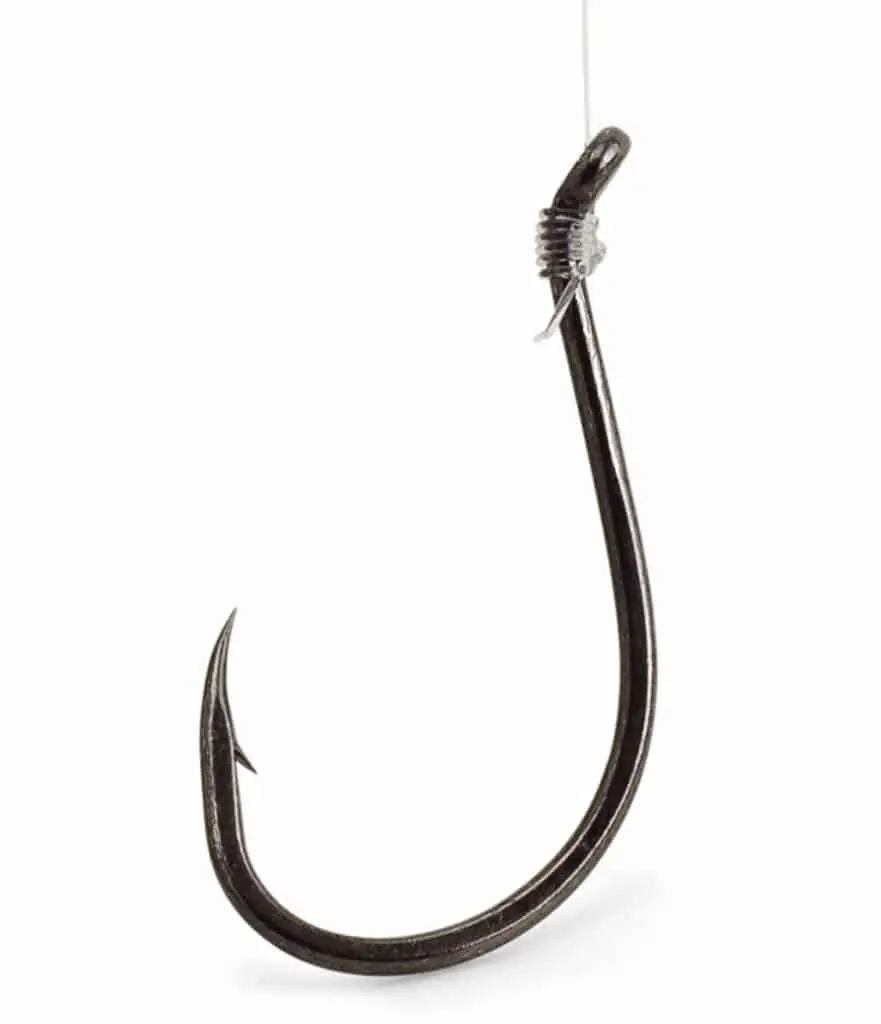
    Two motors on fishing boats are there for many reasons, and have a couple of clear advantages. Two motors can improve the way the boat maneuvers, it can also increase the reliability of your boat. If one motor is down you are not stuck out on the water. Having two motors on a boat can also give you more power.

    Types of motors

    There are three basic types of motors that are used on boats; outboard, inboard, and trolling. We will discuss each in detail and give you different combinations of motors that are found on boats. I will also provide a few boats and what motors they have, and it varies depending on what you buy.

    Trolling Motor

    This is a self contained unit which will include an electric motor, controls, and a propeller. Normally they are affixed to a boat either at the stern or the bow. Trolling motors are usually lifted out of the water when not in use. This is to reduce the drag when the main motor is in operation.

     “It is impossible to grow weary of a sport that is never the same on any two days of the year,” Theodore Gordon.

    There are two types of trolling motors:

    • Electric Trolling Motor (modern): designed around 12V, 24V, or 32V brushed DC electric motor. These are sealed inside a water tight compartment and submerged during operation to avoid overheating. Equipped with hand or foot controls and a wireless remote.
    • Gasoline Powered: this is a small outboard motor that is generally used as trolling motors, alongside a larger motor. They are typically designed with pull start, gear shift controls and throttle controls that are mounted on the body of the motor.

    The two basic uses for a trolling motor on a boat is to troll for game fish and to use the auxiliary power for better maneuvering of the boat. 

    Single Outboard Motor

    Inboard Motor

    This is a marine propulsion system for boats. The inboard motor is an engine that is enclosed in the hull of the boat, normally connected to the propulsion screw with a driveshaft. 

    “If fishing is interfering with your business, give up your business,” Sparse Grey Hackle

    There are two sizes of inboard motors; 

    • Small craft: for use in sailboats or speedboats 
    • They can be gas, diesel, or electric engines
    • Large craft: mainly for ships or other larger vessels
    • Diesel, gas turbines, or fossil-fuel engines are normally how they are powered

    Outboard Motor

    This type of motor is most common on boats. It is a propulsion system for the majority of boats that are sold. They include a gearbox, engine, jet drive, or propeller. Outboard motors can also provide steering control along with propulsion. When selecting an outboard motor you need to choose one that is a good match for the hulls power and shaft length. 

    General Use

    Large outboards: ranging from 2, 3, or 4 cylinder and 15 to 135 horsepower, these are more suitable for hulls up to 17 feet. They can also be paired with a V6 or V8 cylinder blocks for up to a whopping 627 horsepower.

    “Fishing is not an escape from life, but often a deeper immersion into it,” Harry Middleton

    Portable: these are smaller outboard motors that are up to about 15hp. The smallest portable outboard weighing in at 26 pounds. These are mainly used on dinghies, canoes, jon boats, and other smaller craft.

    Electric Powered: invented in 1973 they have 0.5 to 4kW DC, operated at between 12 and 60 volts. These are not to be confused with the trolling motor. 

    After you get a feel for the types of motors and what they are used for or found on, you can now decide if you would prefer a 2 stroke or 4 stroke motor. A 2 stroke outboard motor is basically a motor that fires on each revolution of the crankshaft and has fewer moving parts than the 4 stroke motor. The 2 stroke is also lightweight and powerful.

    The 4 stroke motor requires 4 strokes of the pistons to complete 1 power cycle on the crankshaft. The 4 stroke motor is quieter, have fewer emissions, and is fuel-efficient.

    “If I fished only to capture fish, my fishing trips would have ended long ago,” Zane Grey

    Next, you need to decide if you want your outboard motors to be equal in size and horsepower, if you want one to be bigger than the other, or do you prefer the outboard and just an ordinary trolling motor? 

    If you are purchasing a new boat or revamping your current one we are going to look at a few factors that you should keep in mind and take into consideration before you make a move on either boat. Especially if it is between 23 and 26 feet long. 

    Your first big decision is going to be the cost. Let’s show you the top 5 outboard motors:

    1. Honda BF6 = easy pull start, also available in 4 and 5 horsepower and has an ECU to monitor the oil pressure.
    2. Suzuki DF25= unique air intake, no carburetor; allows for fuel efficiency and not fuel will be exposed to the air. Always starts with just 1 or 2 tugs. 
    3. Yamaha F25= peak performance, weighs 136 pounds, 5500 rpm and only burns 1.8 gph
    4. Mercury 75/90/115 = these motors have the most displacement in their class. They run extremely smooth and weighed 359 pounds, which is 40 less than the earlier model.
    5. Torqeedo Deep Blue= this is an electric outboard motor with 60-watt power output that produces thrust which is equal to 80 hp.
    “I go fishing not to find myself but to lose myself,” Joseph Monniger

    Boats with 2 motors

    Some of the top selling fishing boats of the last decade has 2 motors. Here are 3 of the top 25 fishing boats with the most sales over the last decade. They are in no particular order, but notice that they have 2 motors of the same size.

    1. Contender 32ST – 37 foot boat with 9 foot beam. It has a 310 gallon fuel capacity and is powered by 2 F300 outboard motors. Top speed on this boat is 64 miles per hour. It is considered a tournament fishing boat and has 2 40 gallon live wells.
    2. Grady-White Express 330 – introduced in 2001 and boasts fuel efficiency, speed, interior space, and fishing/cruising amenities. Powered by 2 Yamaha F350’s its top speed is over 50 miles per hour.
    3. Southport 29 TE – this is a tournament fishing boat that is ran by two Yamaha F300’s. Top out speed is around 50 miles per hour with cruising speed being about 24.8 miles per hour. It also has live well/tackle station, rod holders, and many other conveniences. 

    The boats above, and any other boat that you purchase, you can choose the motors that you want to power the vessel. They can be the same horsepower or they can be different. We are going to look at a couple boats that have a trolling motor and a bigger outboard motor. 

    When it comes to buying a boat with a trolling motor, or adding a trolling motor to your own boat, how do you know which is the best? The one thing that you have to take into consideration is the weight of the boat that you are adding the trolling motor to. The rule of thumb is: you want a minimum of 2 pounds of thrust per 110 pounds of boat weight. Below is a chart that will help you figure out what is best for your boat.

    Bass boats typically have some kind of trolling motor on them. Below we have listed the top 3 bass boats that either include a trolling motor or you can easily add a trolling motor to. Bass boats are one of the best selling boats in the world, but depending on the style, motor, and other options you will have to dig deep into those pocket books to afford one.

    “I only hope the fish will take half as much trouble for me as I’ve taken for them,” Rudyard Kipling

    Basscat Puma FTD:  this has a single 250 horsepower outboard motor and can go over 75 miles per hour. It is a heavy duty build, vacuum-bonded together and very comfortable to right in. You could easily add a small electric trolling motor to this bass boat.

    Crestliner 1750 Bass Hawk: small aluminum lightweight boat with a 1750 Bass Hawk motor. Will glide at 52 miles per hour and has a bow-mounted electric trolling motor. This boat also comes with pedestal seating and a live well along with other amenities.

    Nitro Z21 – this has a stock 225 horsepower outboard motor that will zoom you down the lake at just under 70 miles per hour. It also has anti-fatigue padding and a rod box/organizer that can hold up to 10 fishing rods that are 8 foot long.

    There you have it folks, why do boats have 2 motors. We covered a ton of information today, and there is so much more that we could have covered on this topic, so maybe we will consider doing a part 2 on this subject and delve a little deeper into which are the top selling trolling motors, and how much it is to have a trolling motor installed on your boat. 

    “Carpe Diem” does not mean “fish of the day,” Author Unknown

    I hope that we answered most of the questions that you had on this subject. When you are looking to add a trolling motor to your boat, just remember that you HAVE to take into consideration the weight of your boat. If you are going to purchase a boat with a trolling motor, you are looking at anywhere from about $18,000 and up, way up! Depending on the brand of the boat and the size of the main motor that it comes with.